I have always wanted a Kitchen Aid. I have never wanted to pay for a Kitchen Aid though, they are so expensive! I hadn’t considered buying one until my 10 year old daughter repeatedly asked to bake together. She then became obsessed with me getting a Kitchen Aid so that we could be “like the fancy people on the Food Network.” ? I promised her that I’d keep an eye out for one at Goodwill. I found one!
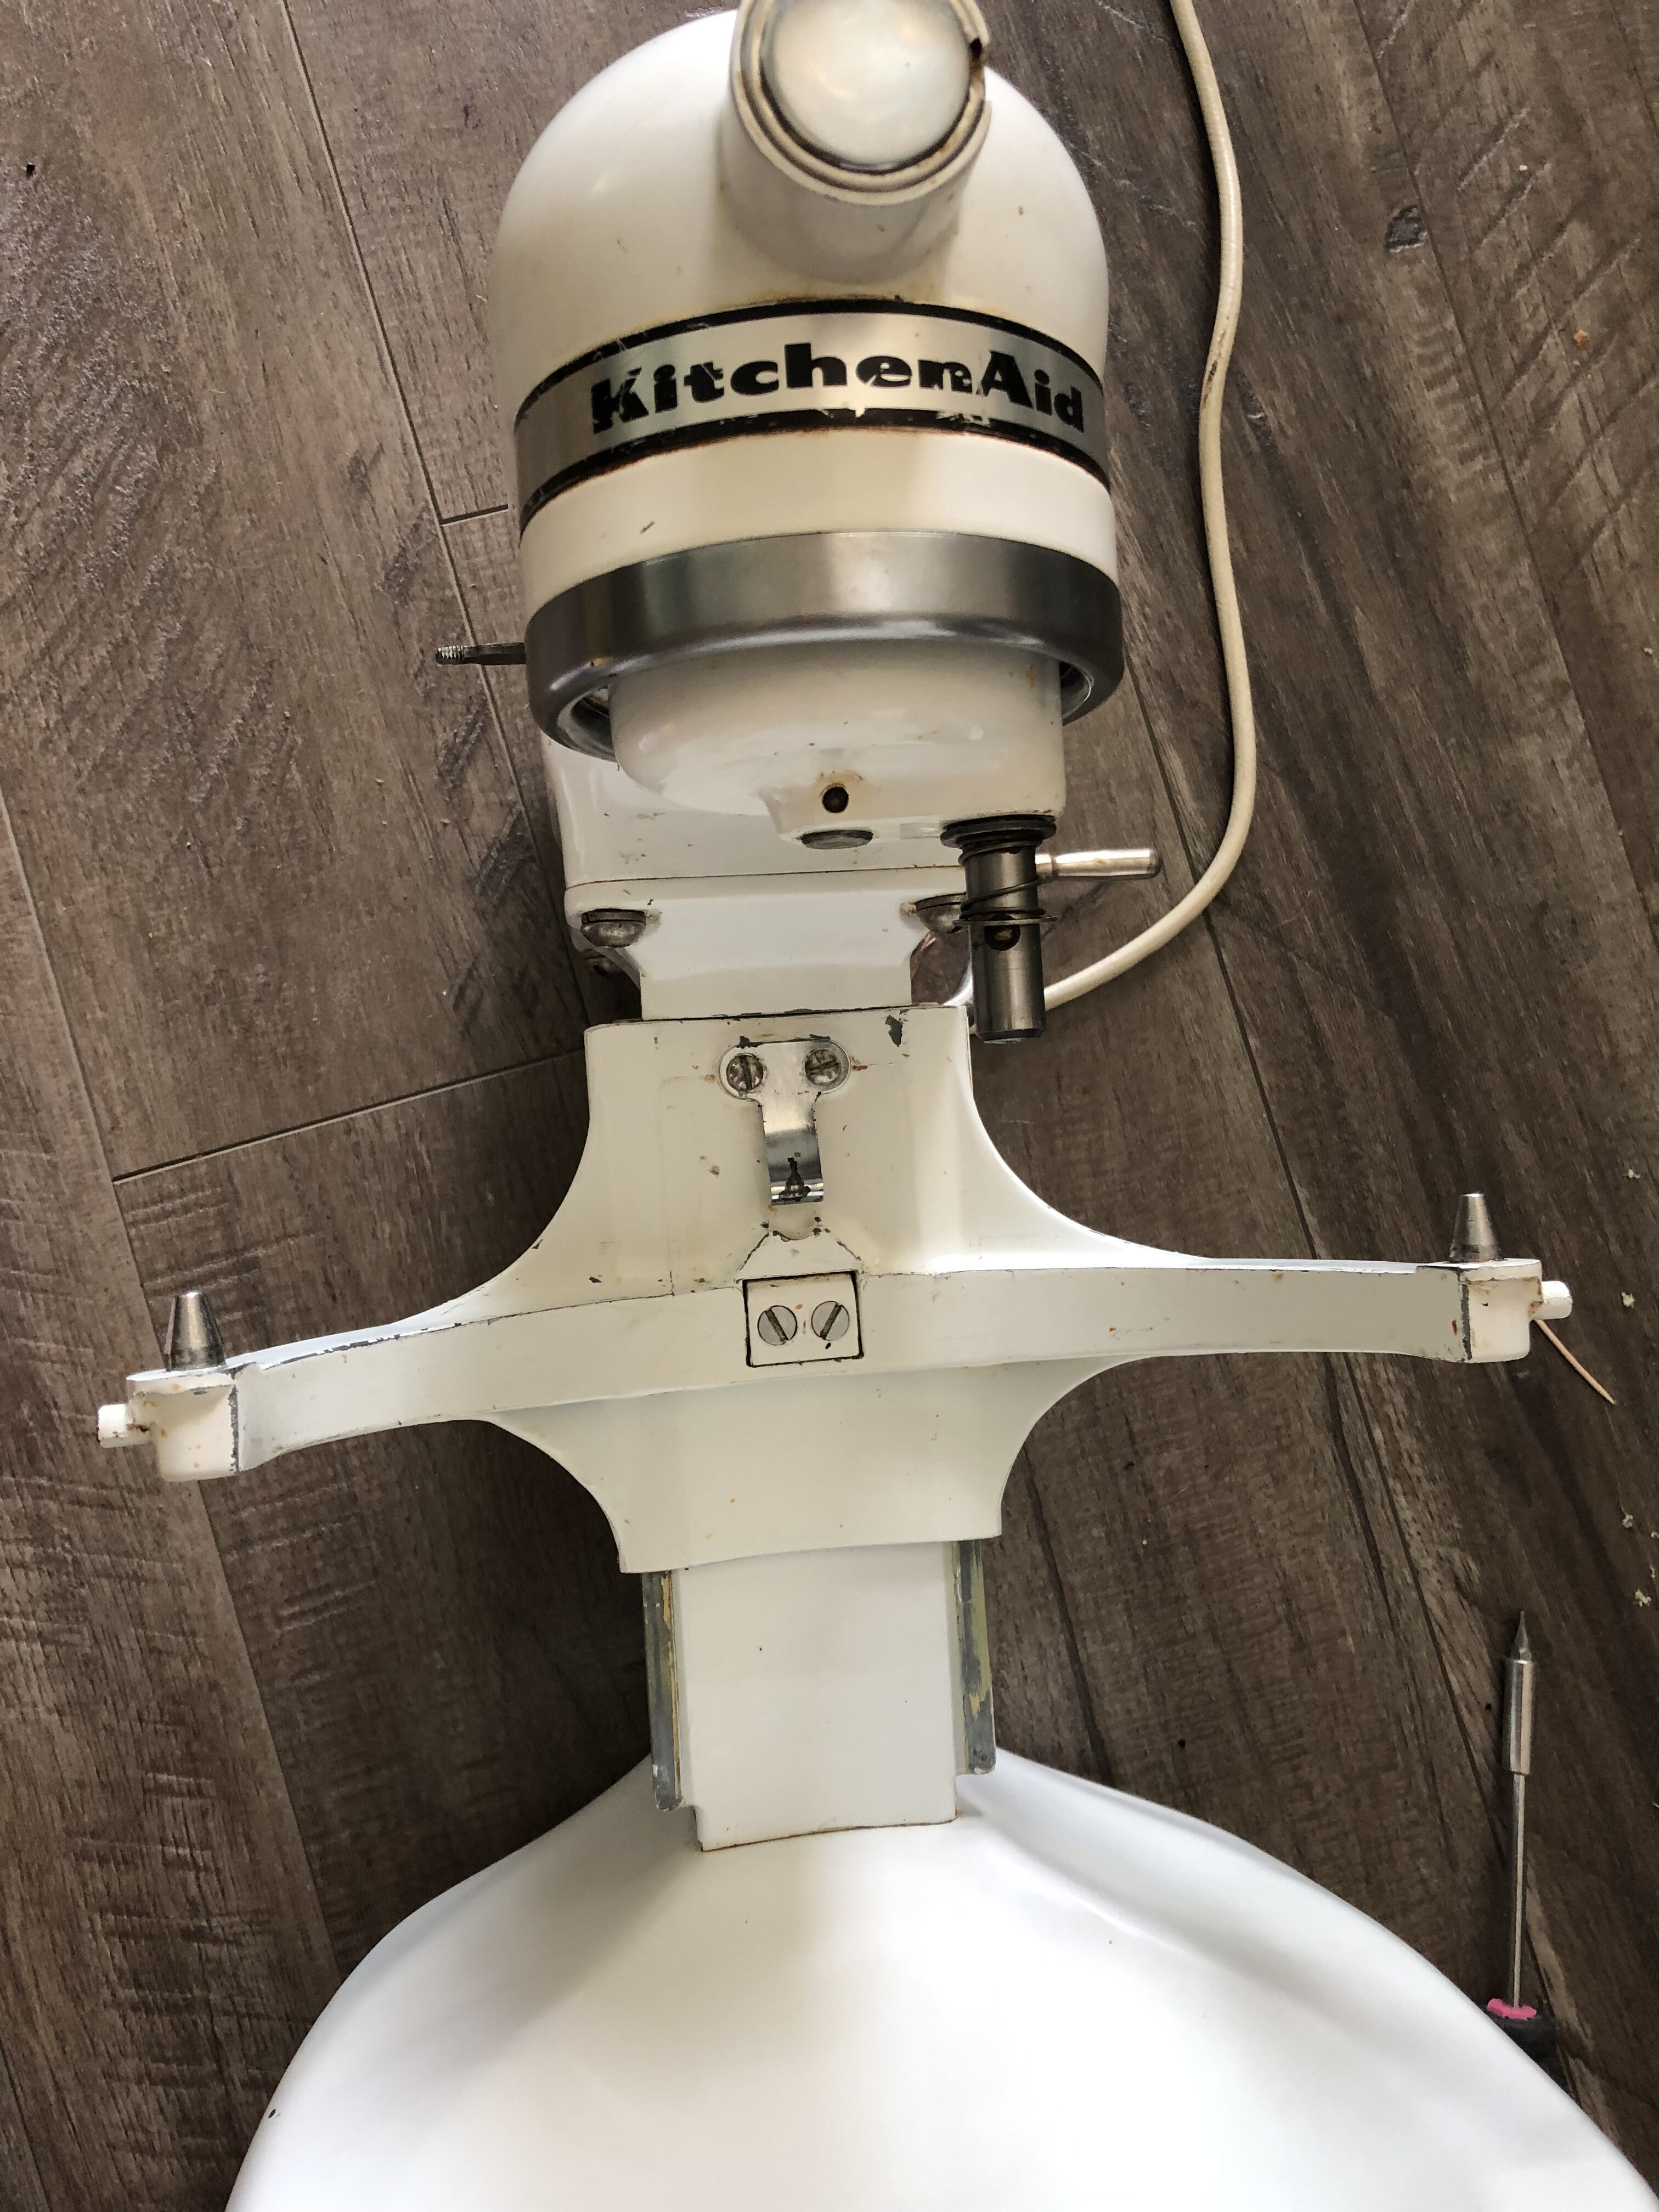
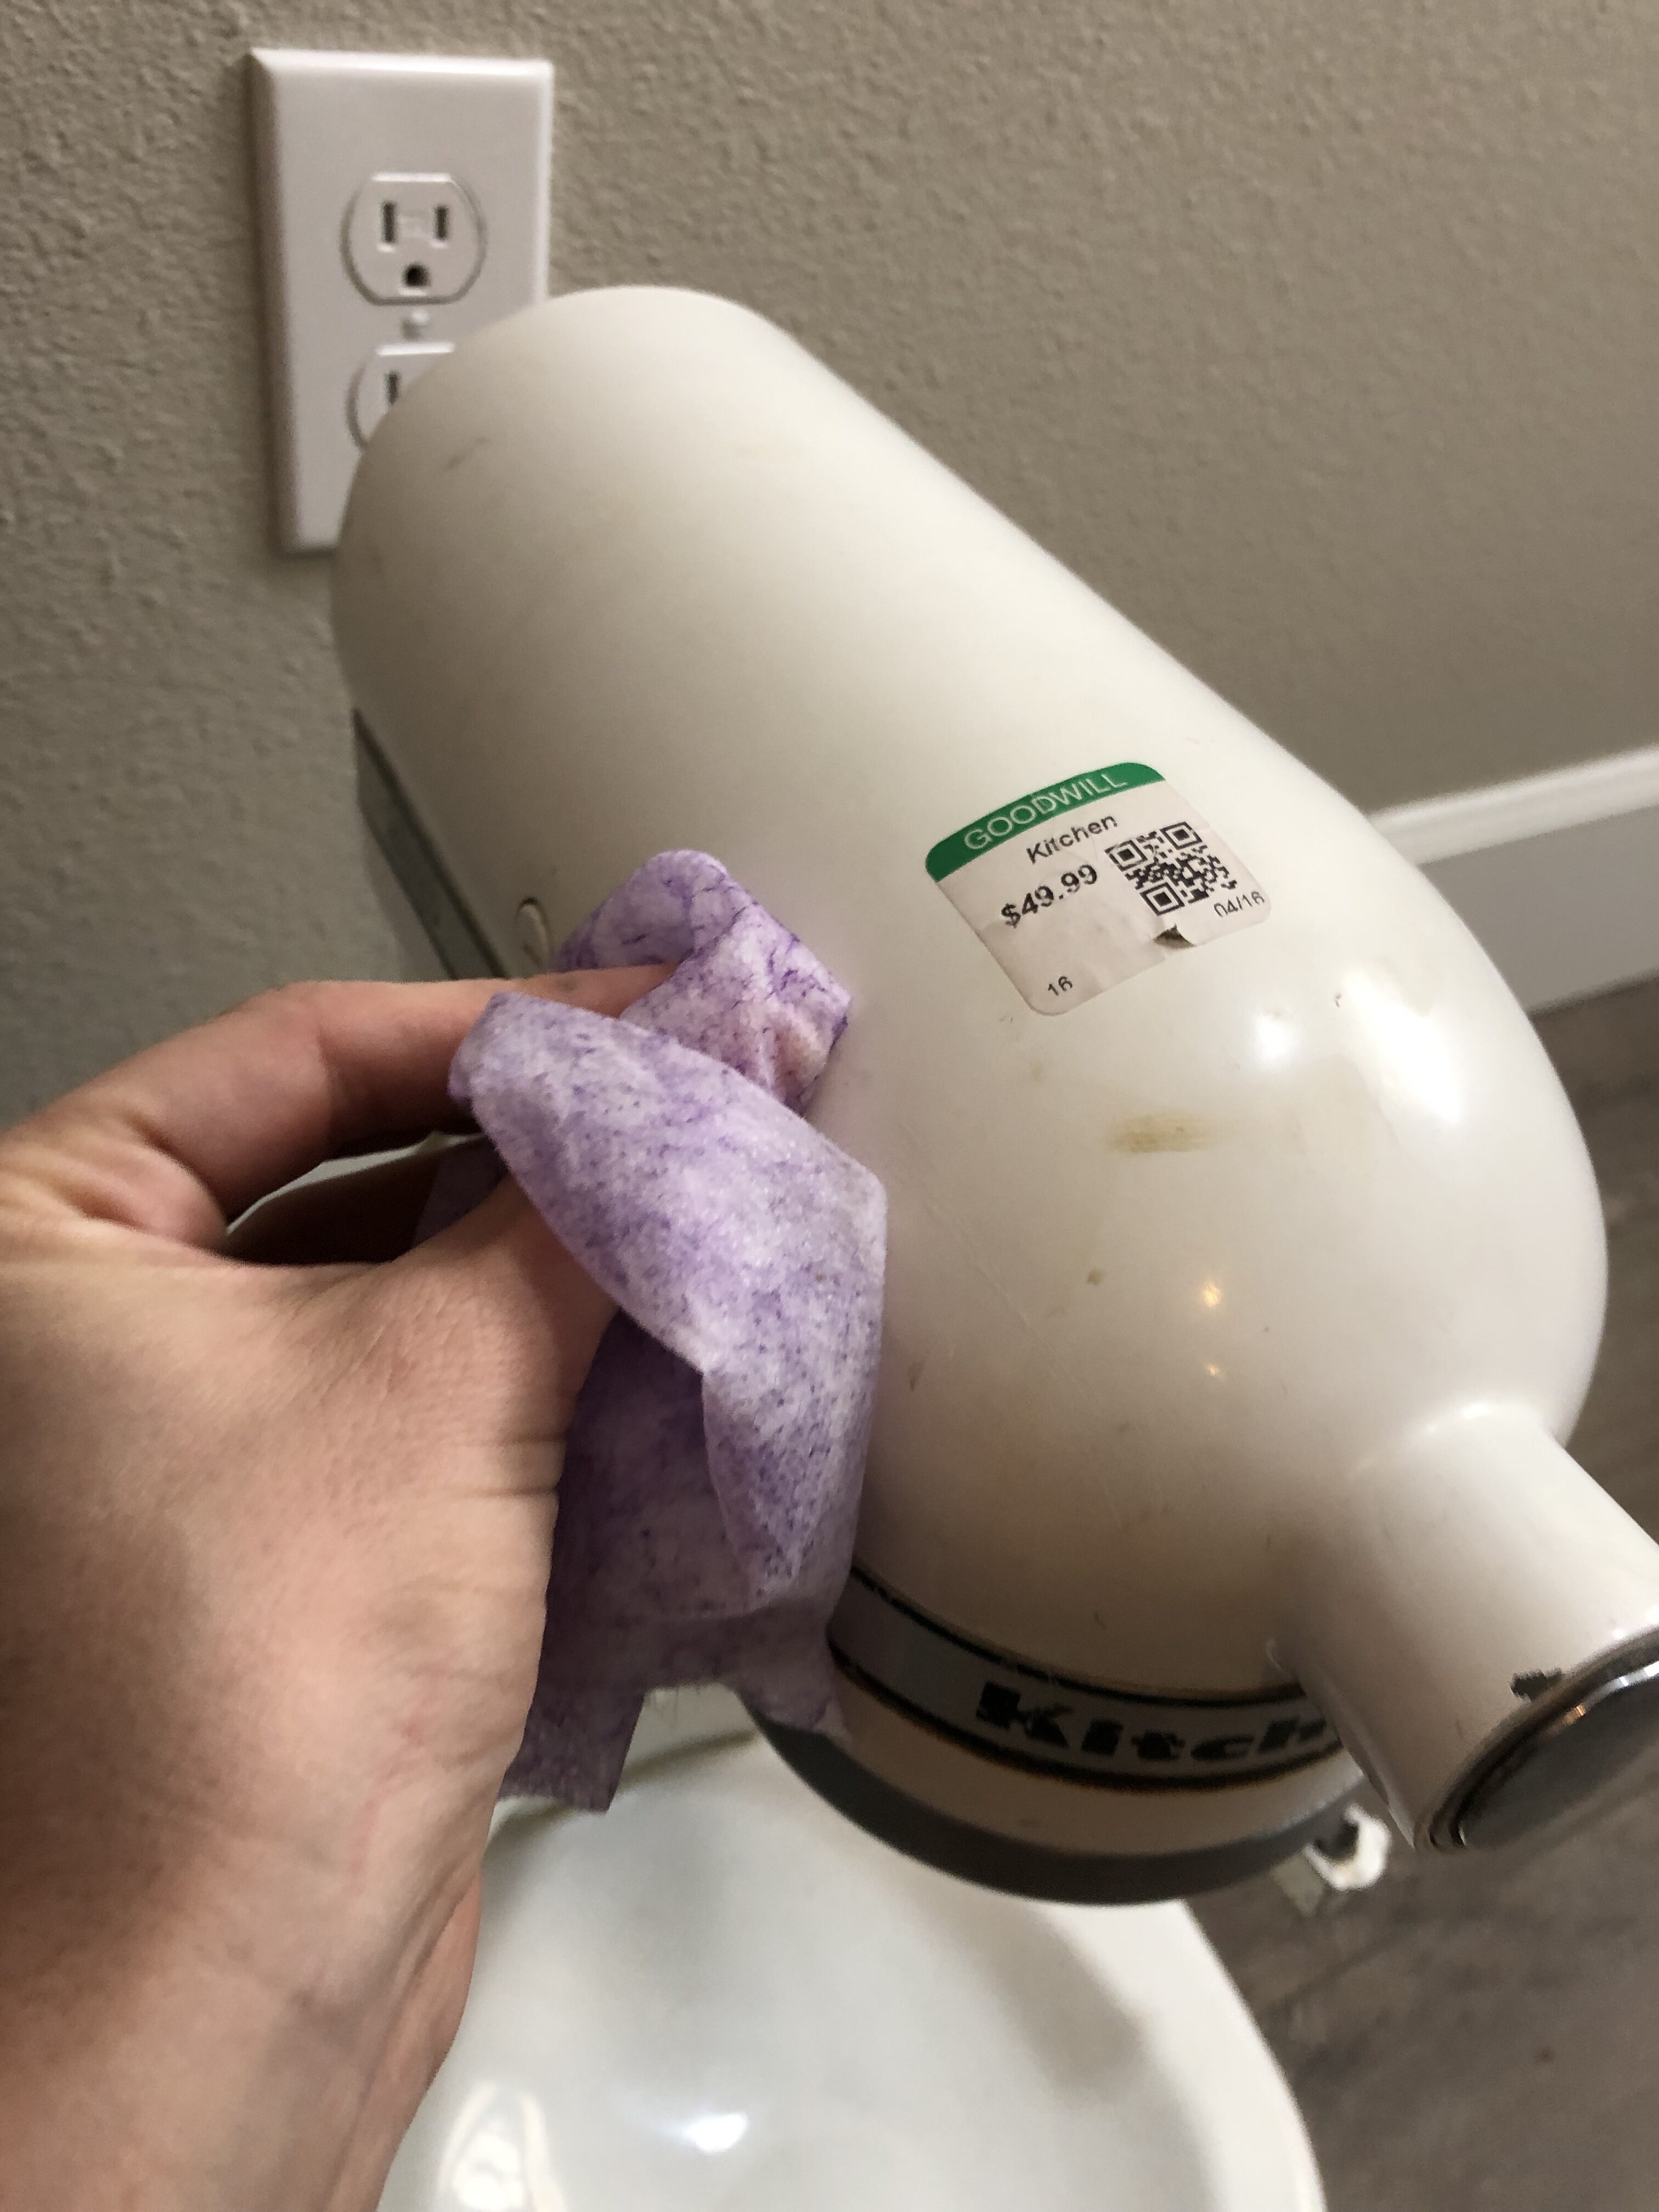
Here it is. I plugged it in, and it worked perfectly! $49.99 at Goodwill! It’s an older model, but that didn’t bother me!
Well put together and sturdy, it just needed a cosmetic update!
First step, clean and scrub, and clean and scrub! You wouldn’t believe how much gunk and build up I found! So gross! ?
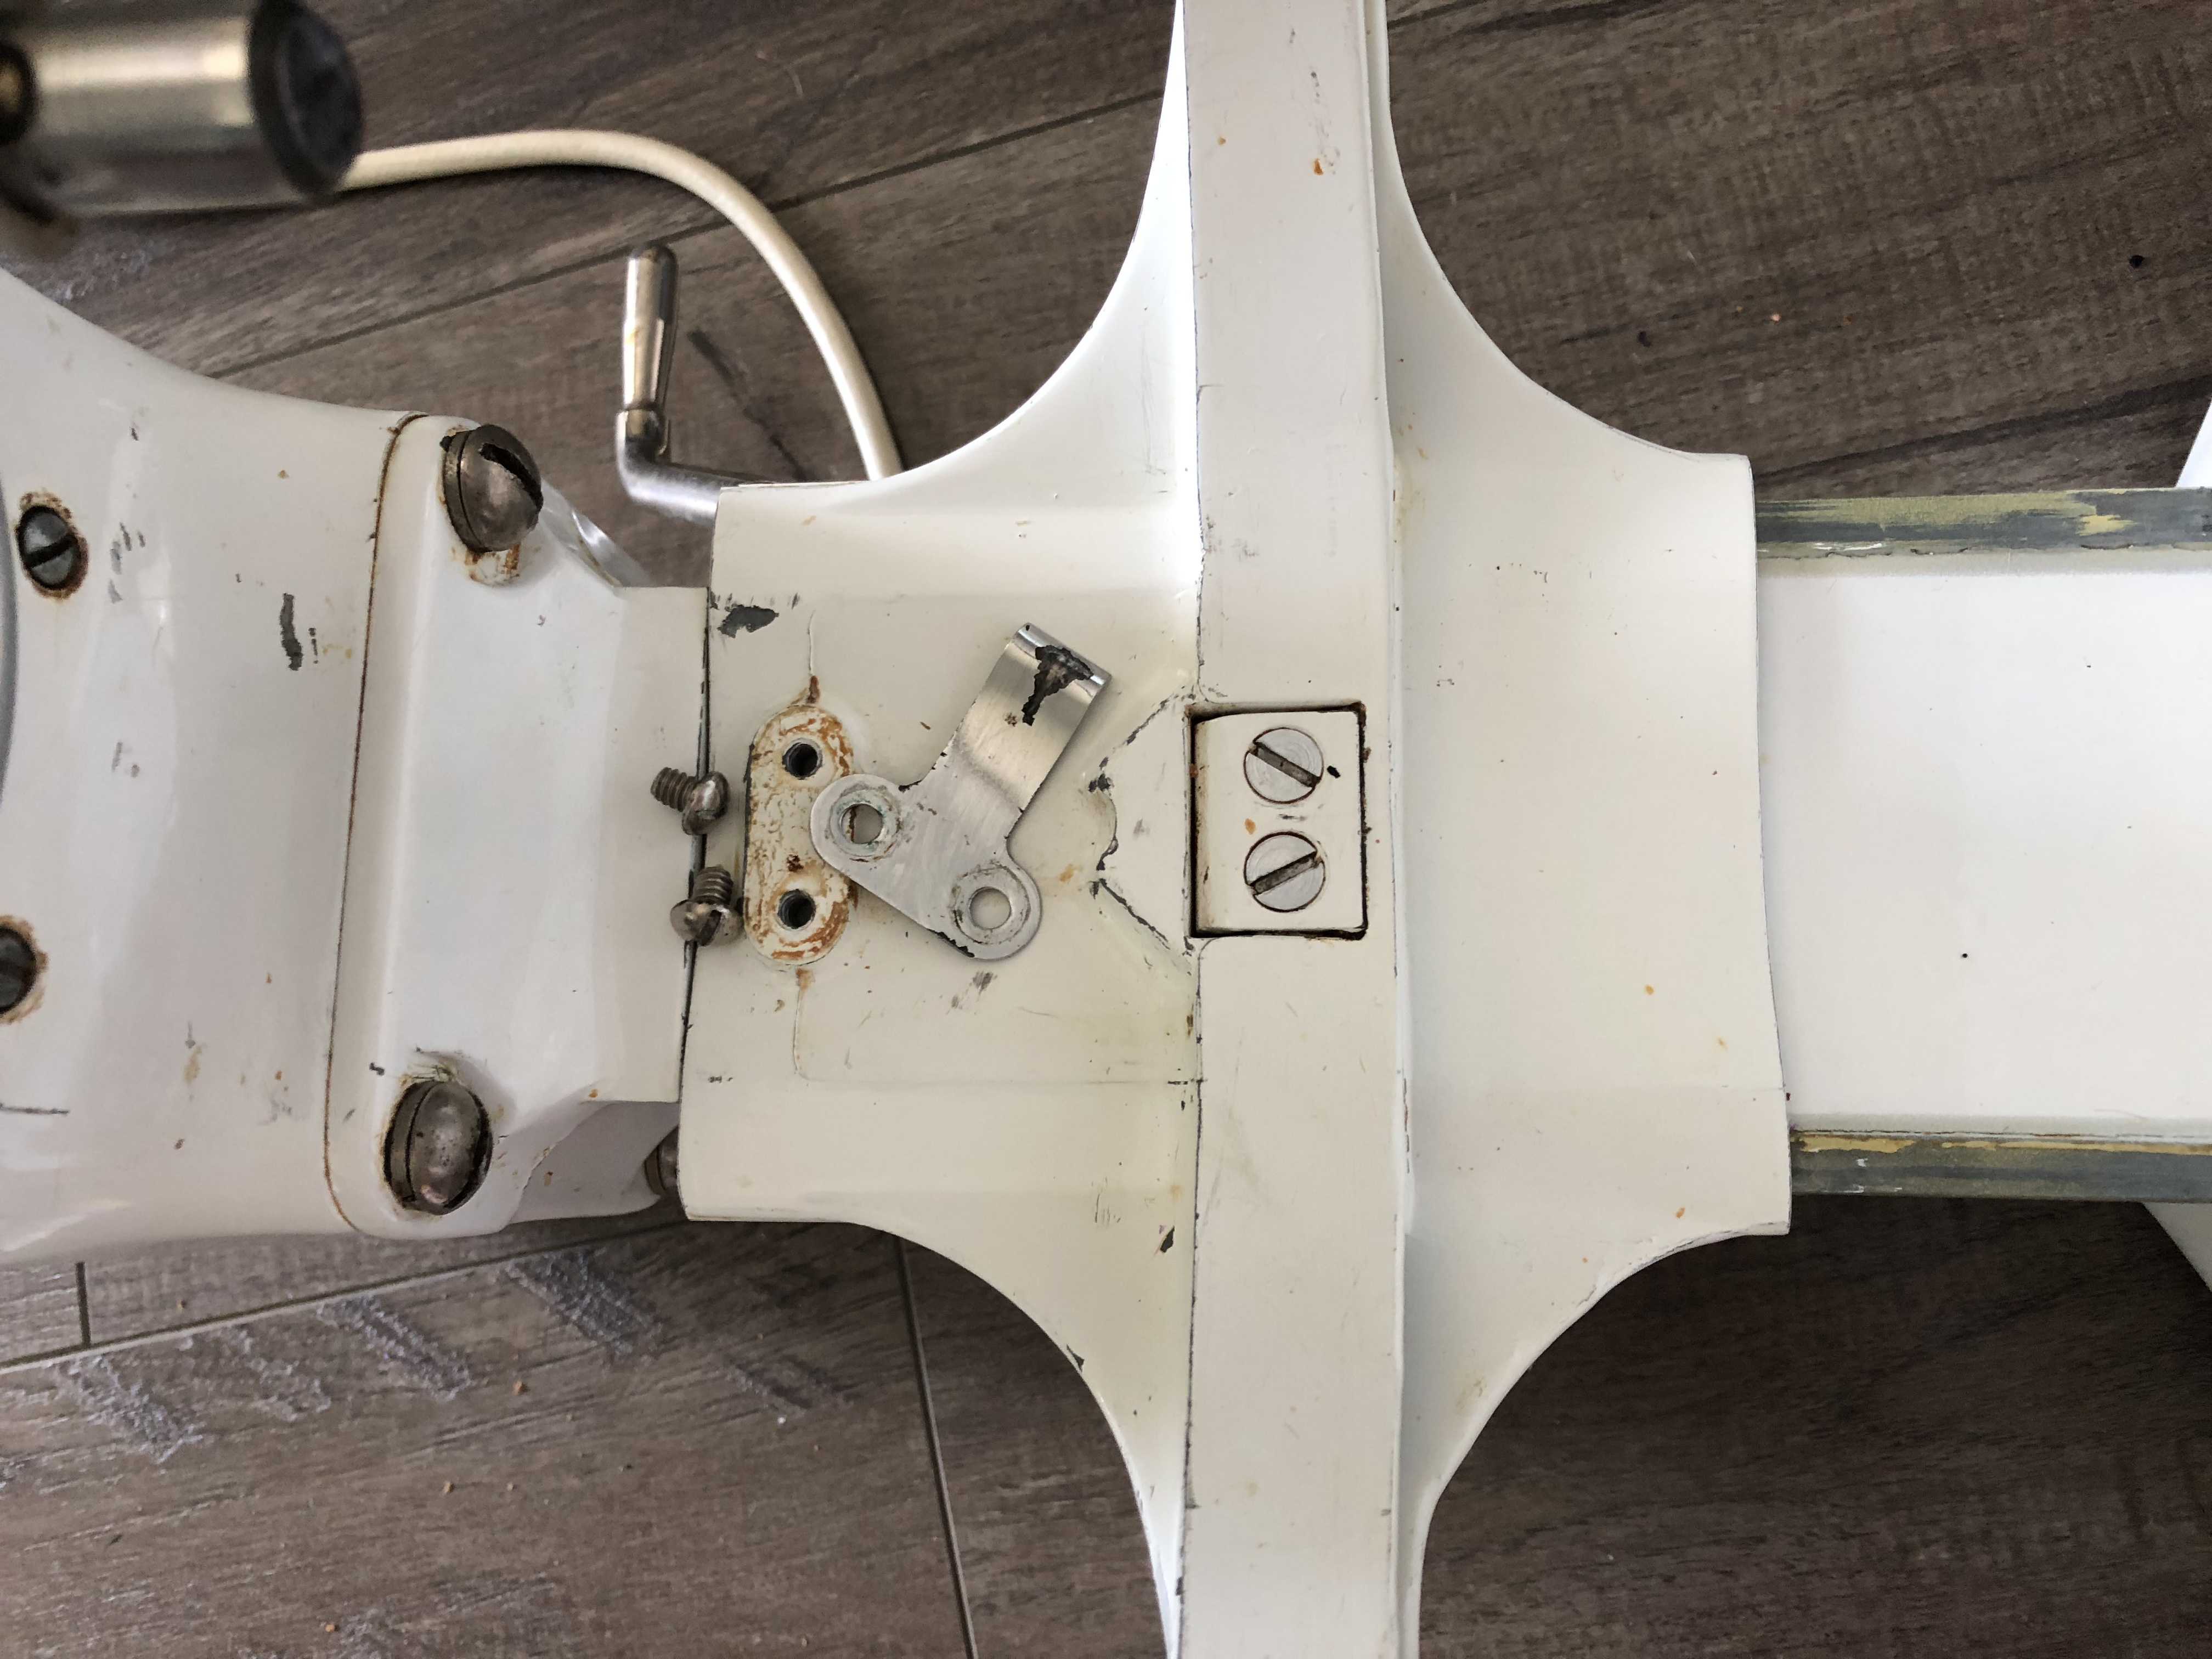
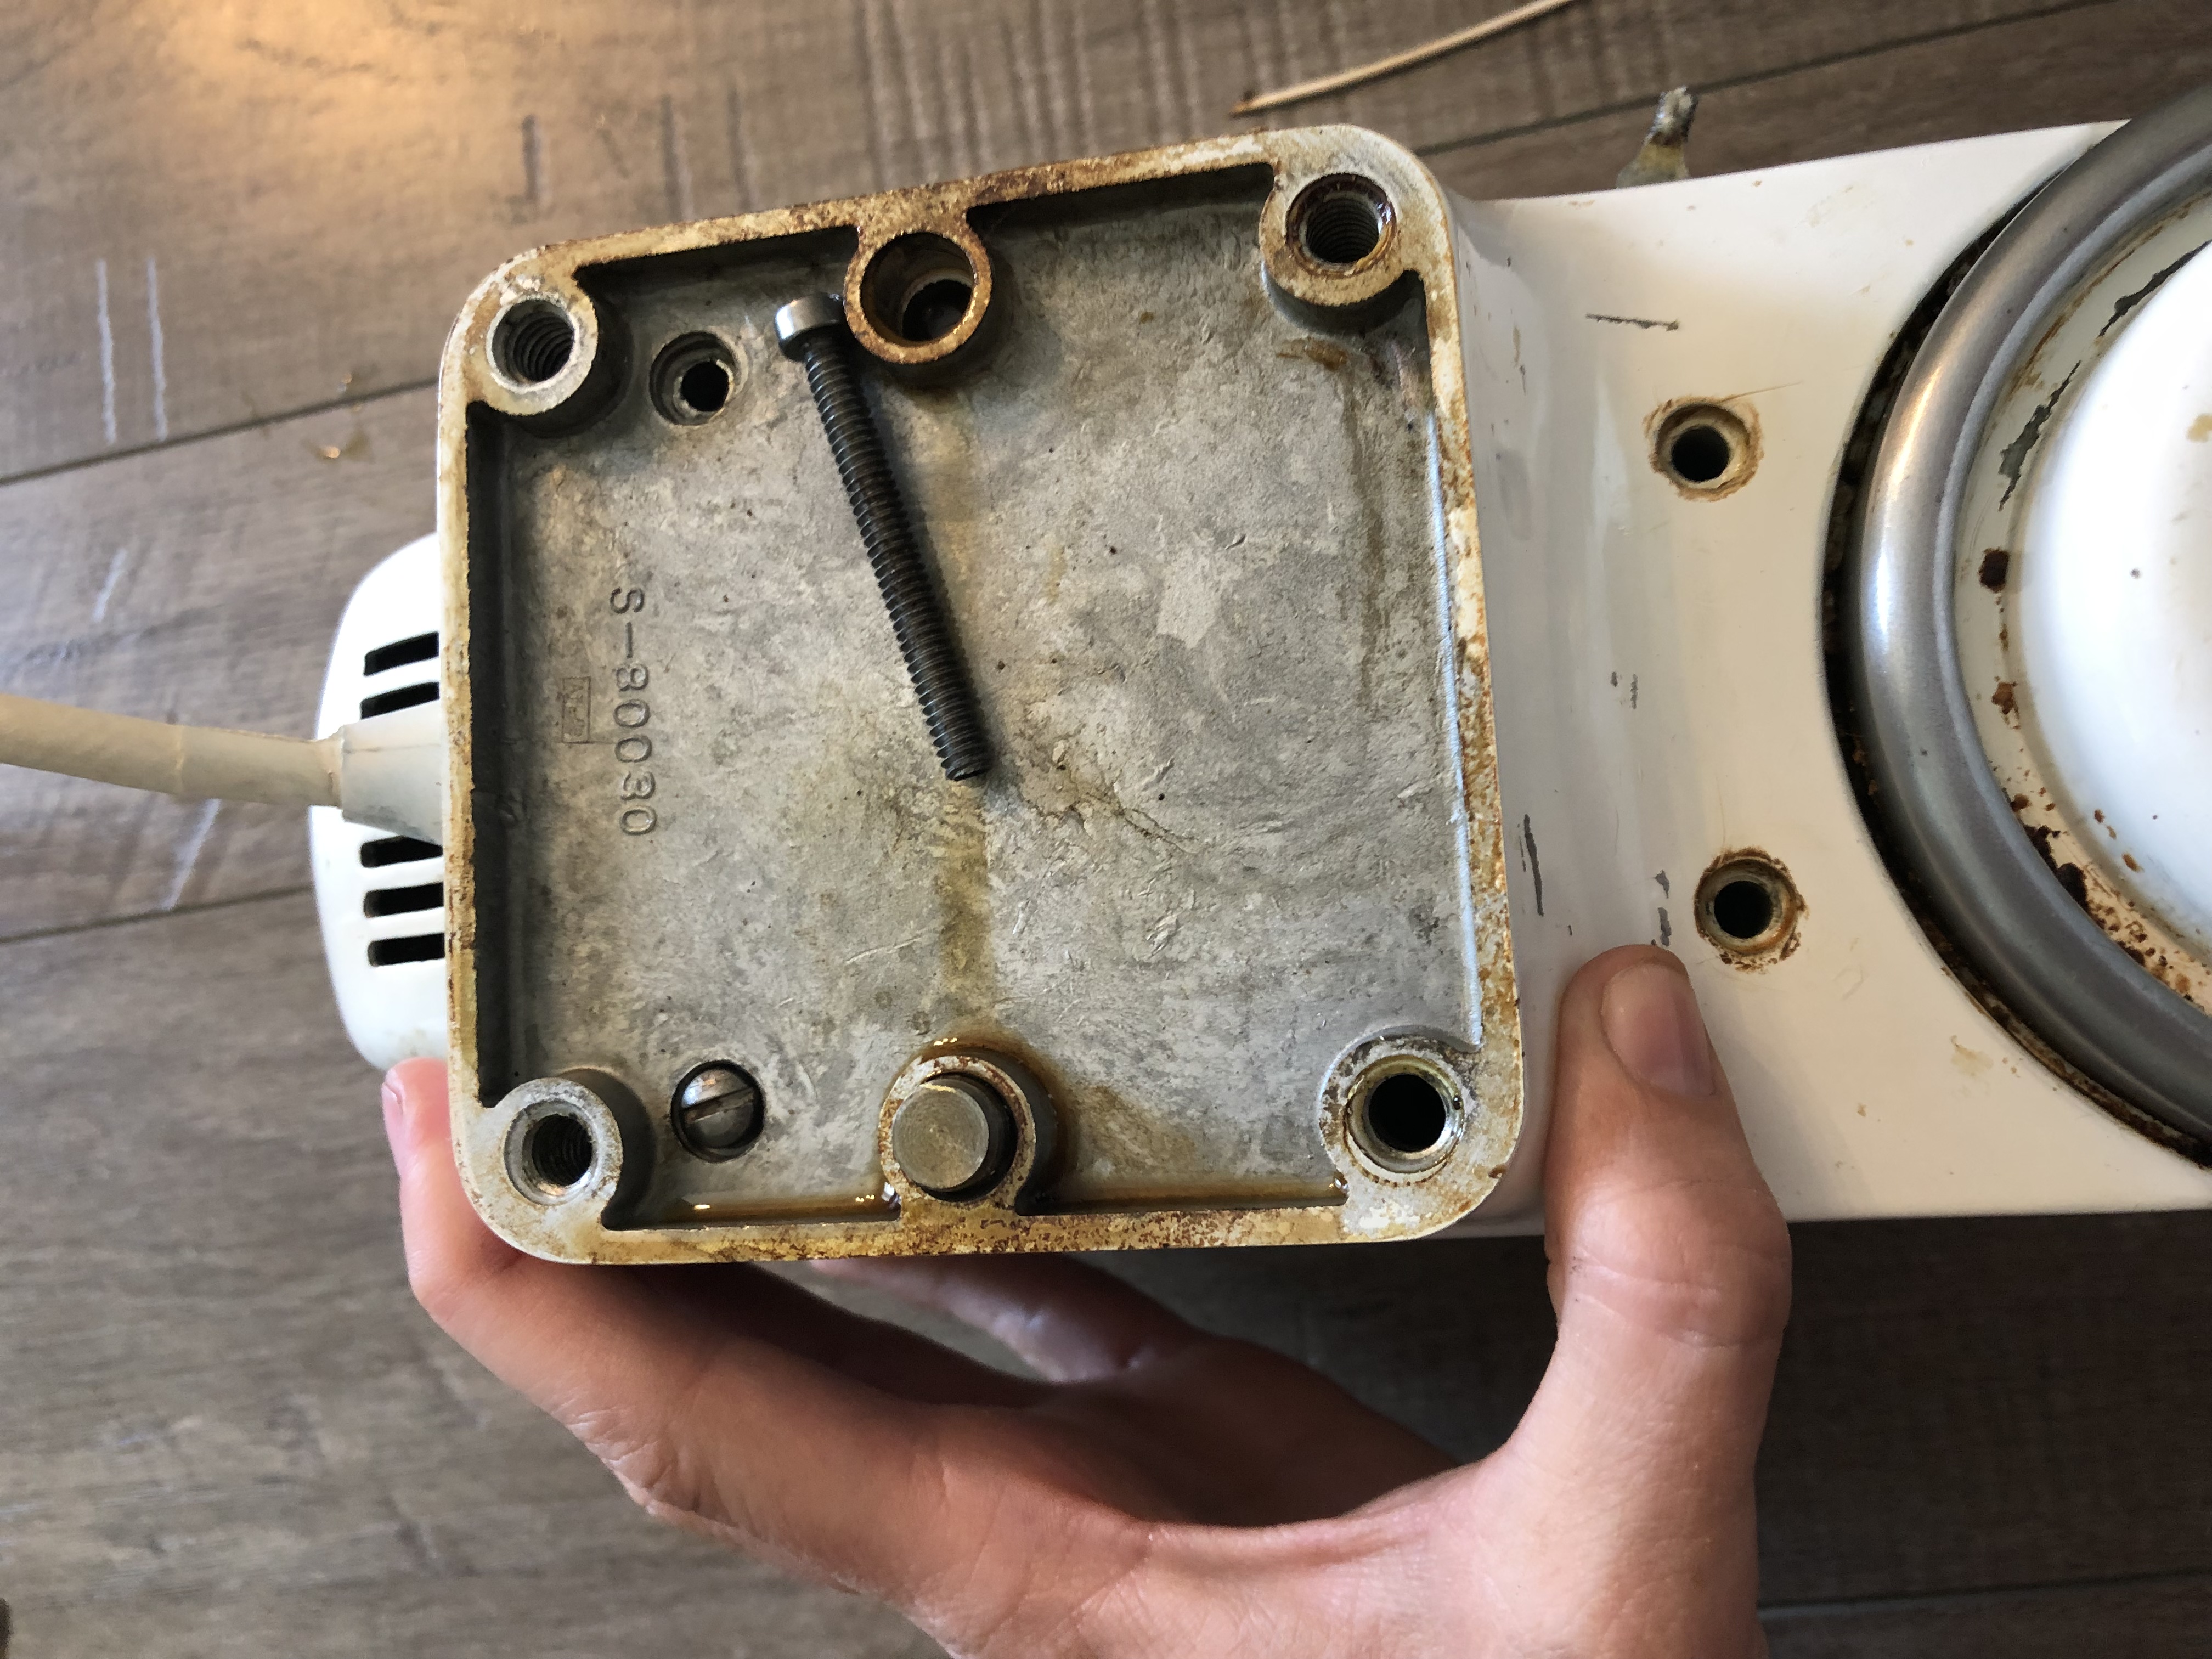
I then took it apart section by section. Tip: take pictures of each step! Each screw next to each spot. I always think that I’ll remember how to piece things back together, and I never do! The pictures are a game changer, I looked at my pictures while I put it back together, and it made it way easier and faster!
See? Take pictures of the part and the screws that go with it.
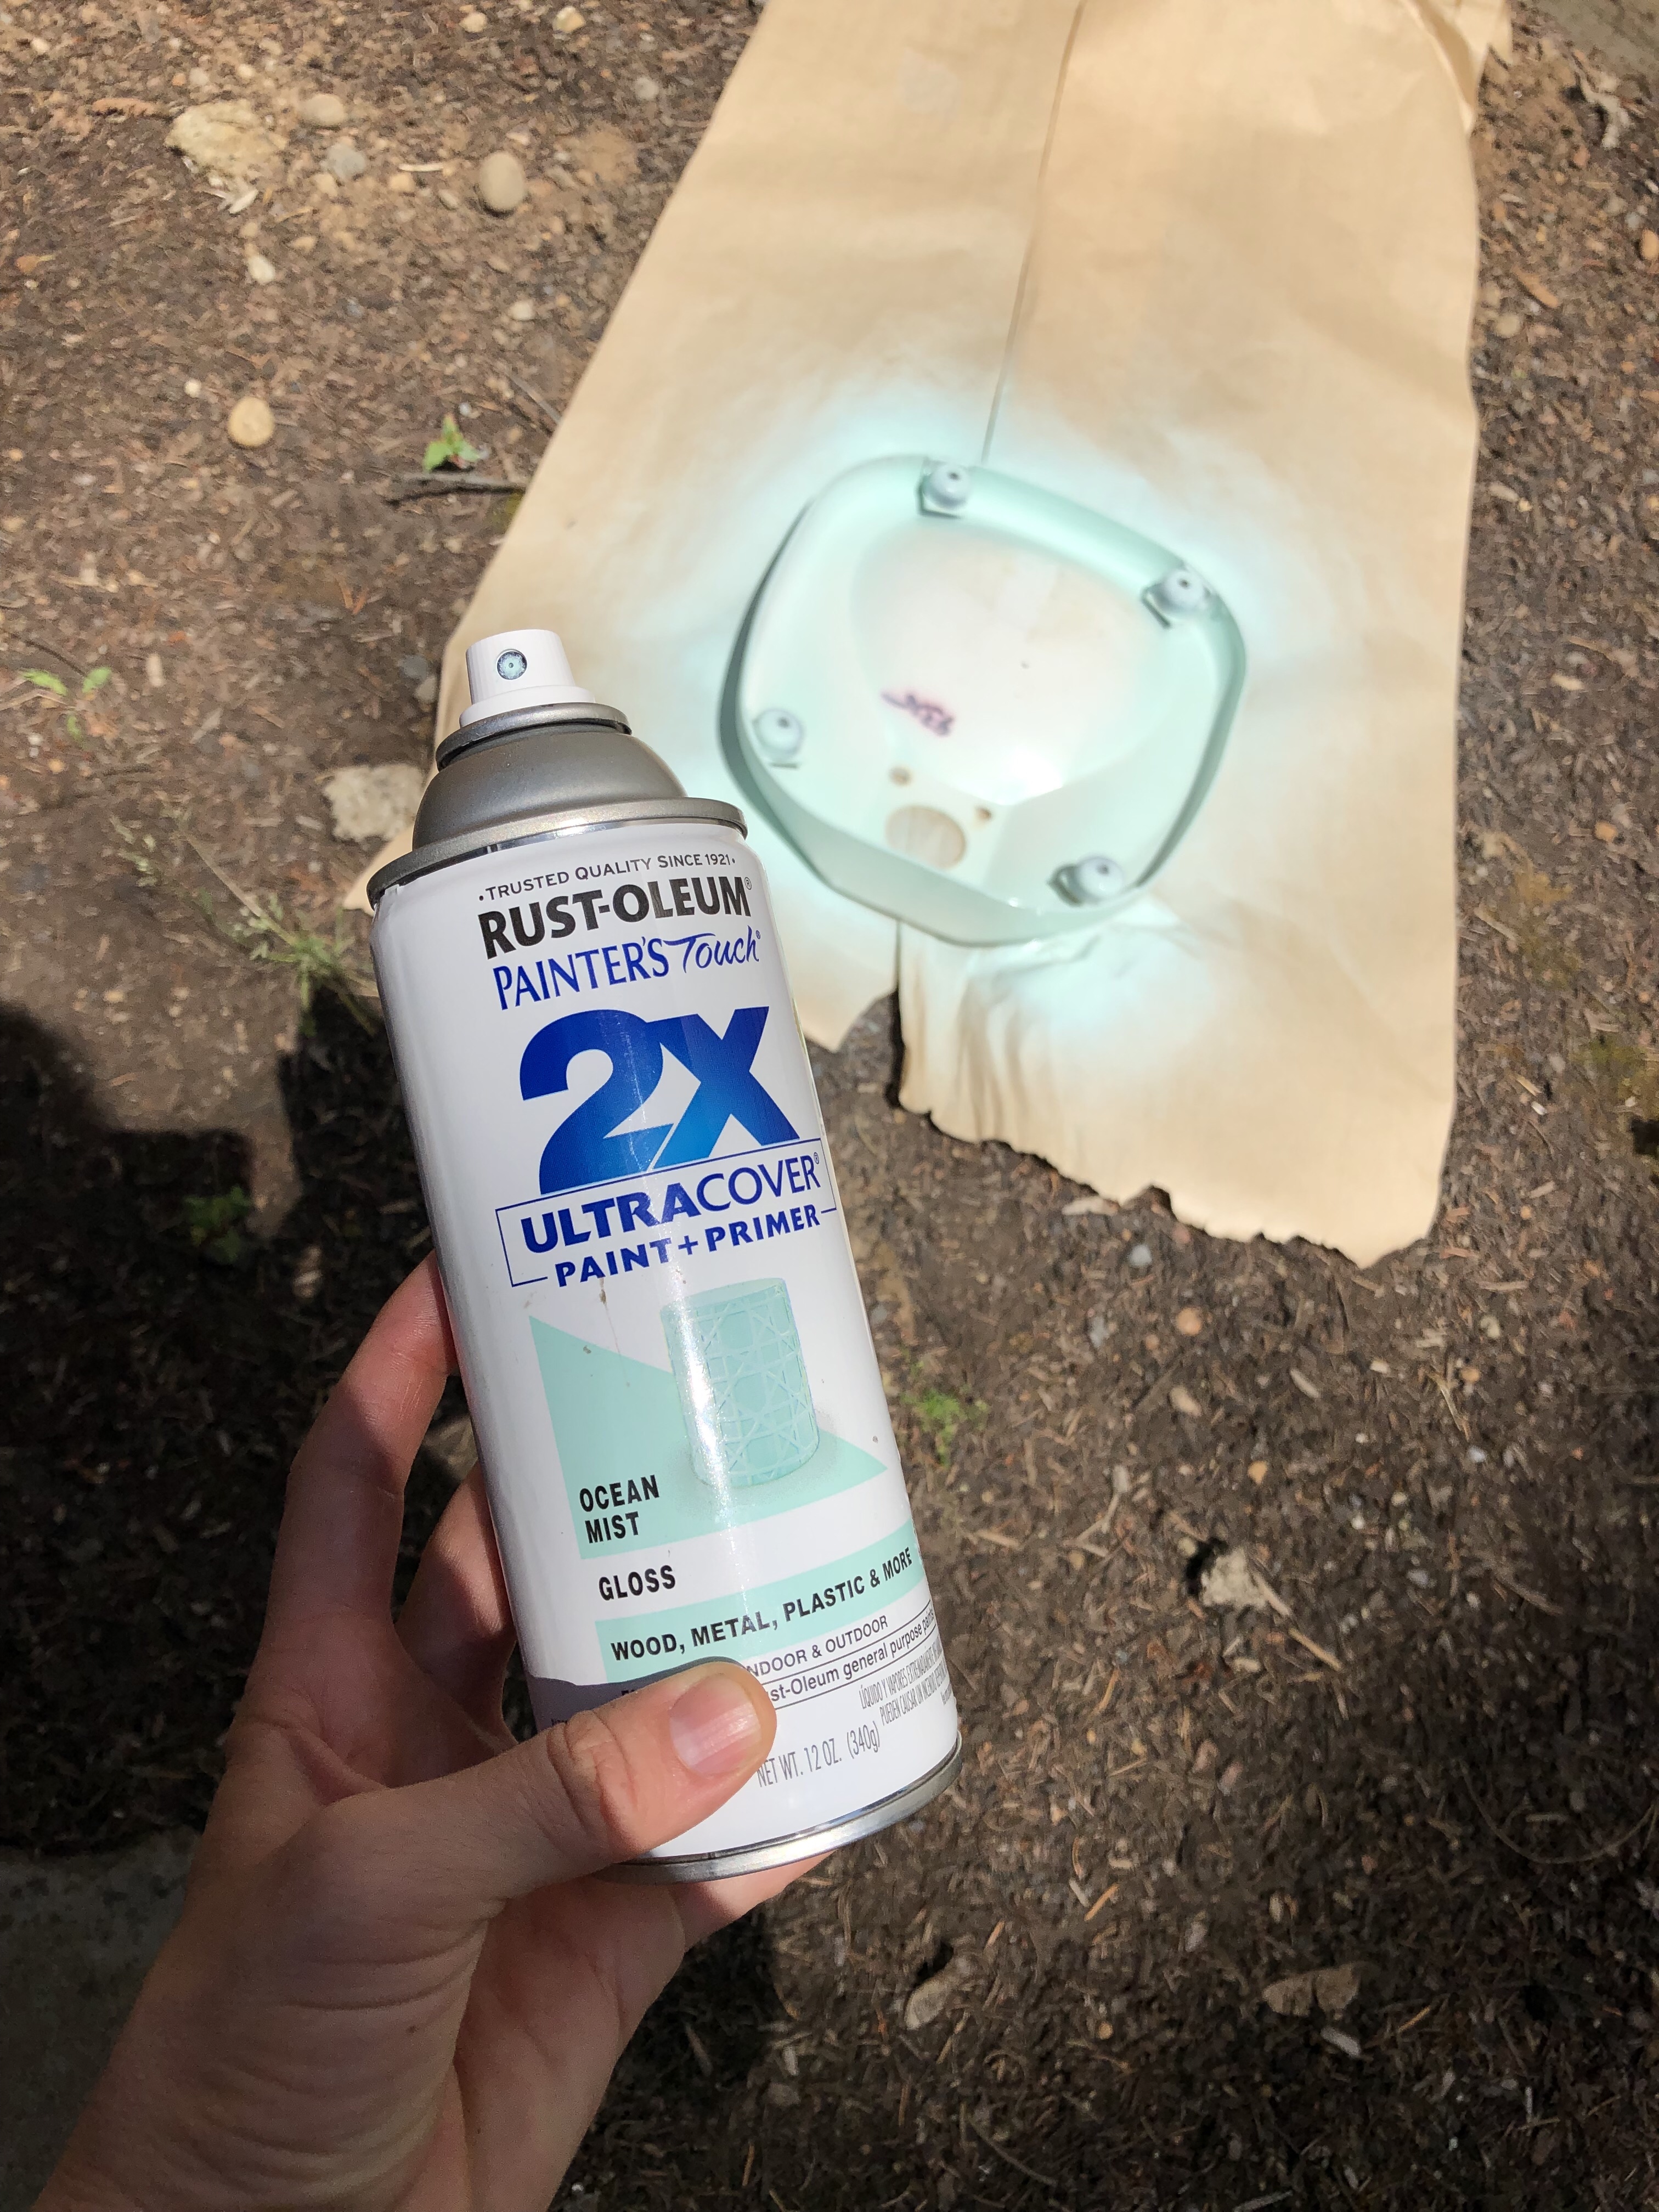
Tape around any parts that you don’t want painted. I ended up taking most of the pieces off that I didn’t want painted(ie. the silver “Kitchen Aid” strip).Then the fun part! Spray painting! I used Rustoleum “Ocean Mist”.
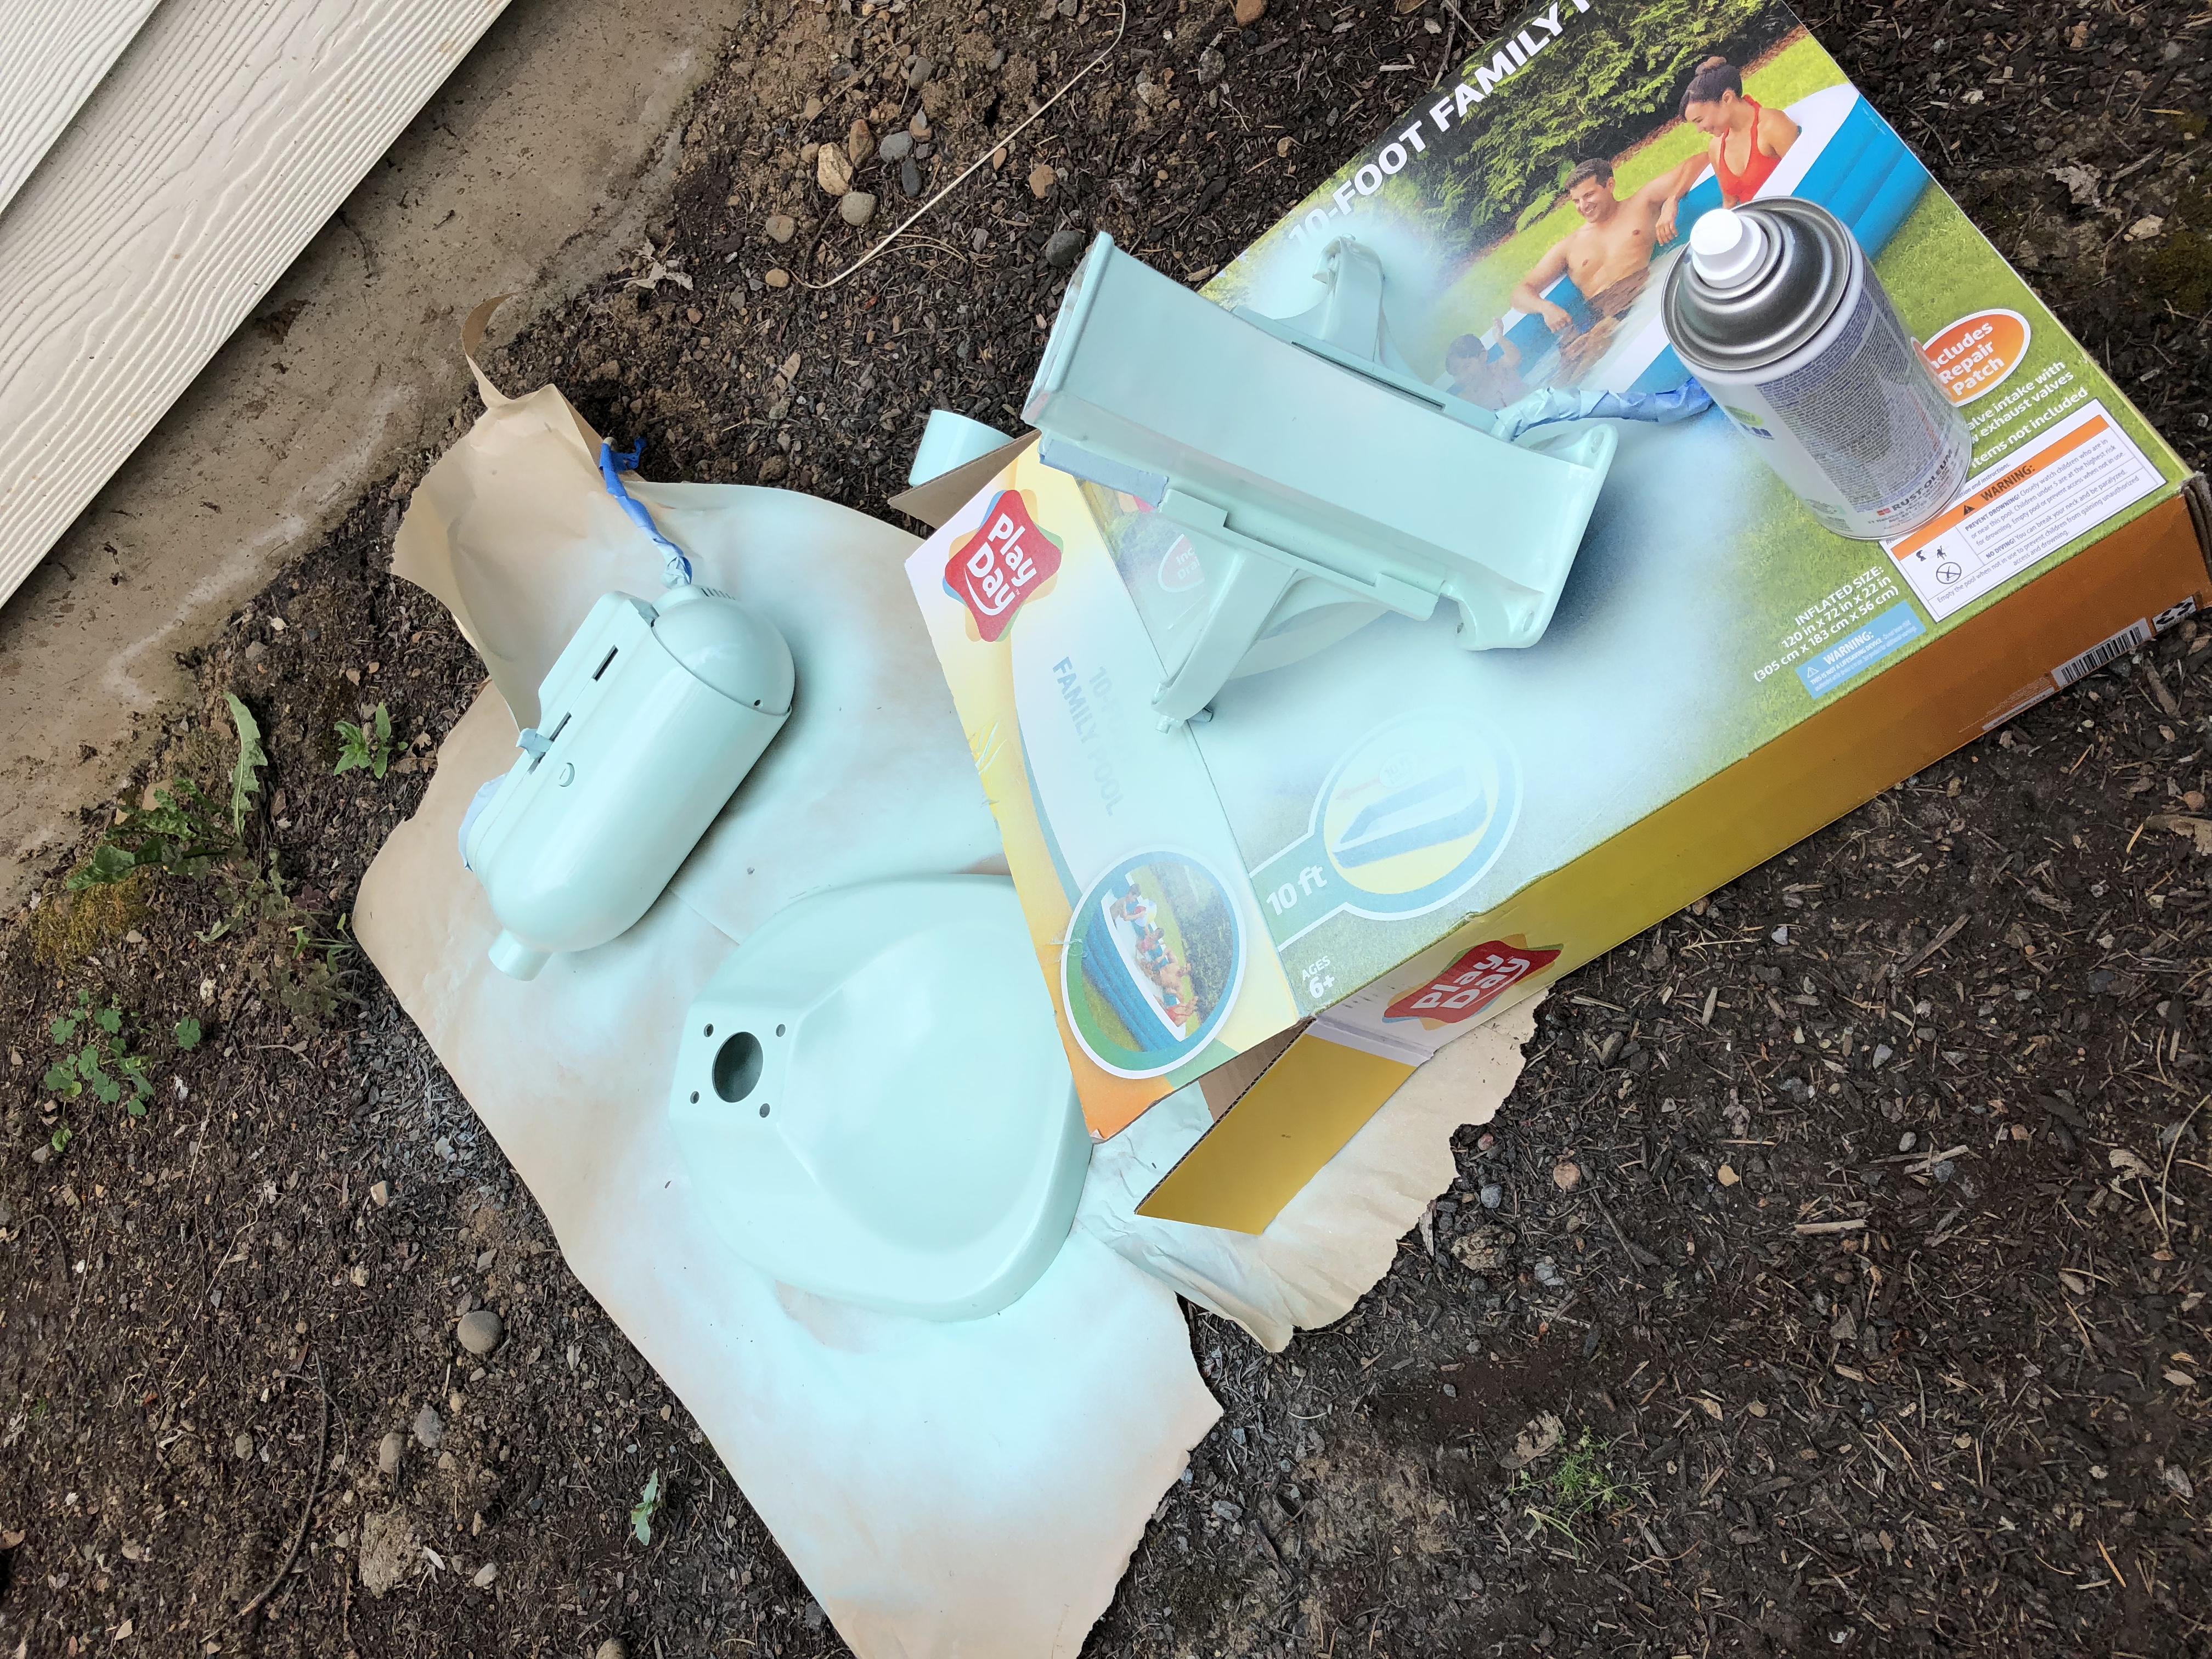
Here it is drying in my backyard. Nothing fancy! Now here’s the part that I need you to do, that I promise will make a BIG difference. Let it fully dry between coats! Wait the extra time! Then once you’ve done multiple coats, let it sit in the garage, or out of site for 2-3 days. This is the hardest part of the whole thing, but I promise you that it’s worth it! The paint will set, it won’t chip as easily, and it’ll bond to the metal really well! I have tried skipping that last step numerous times, and it NEVER works or bonds like it’s supposed to unless I wait.
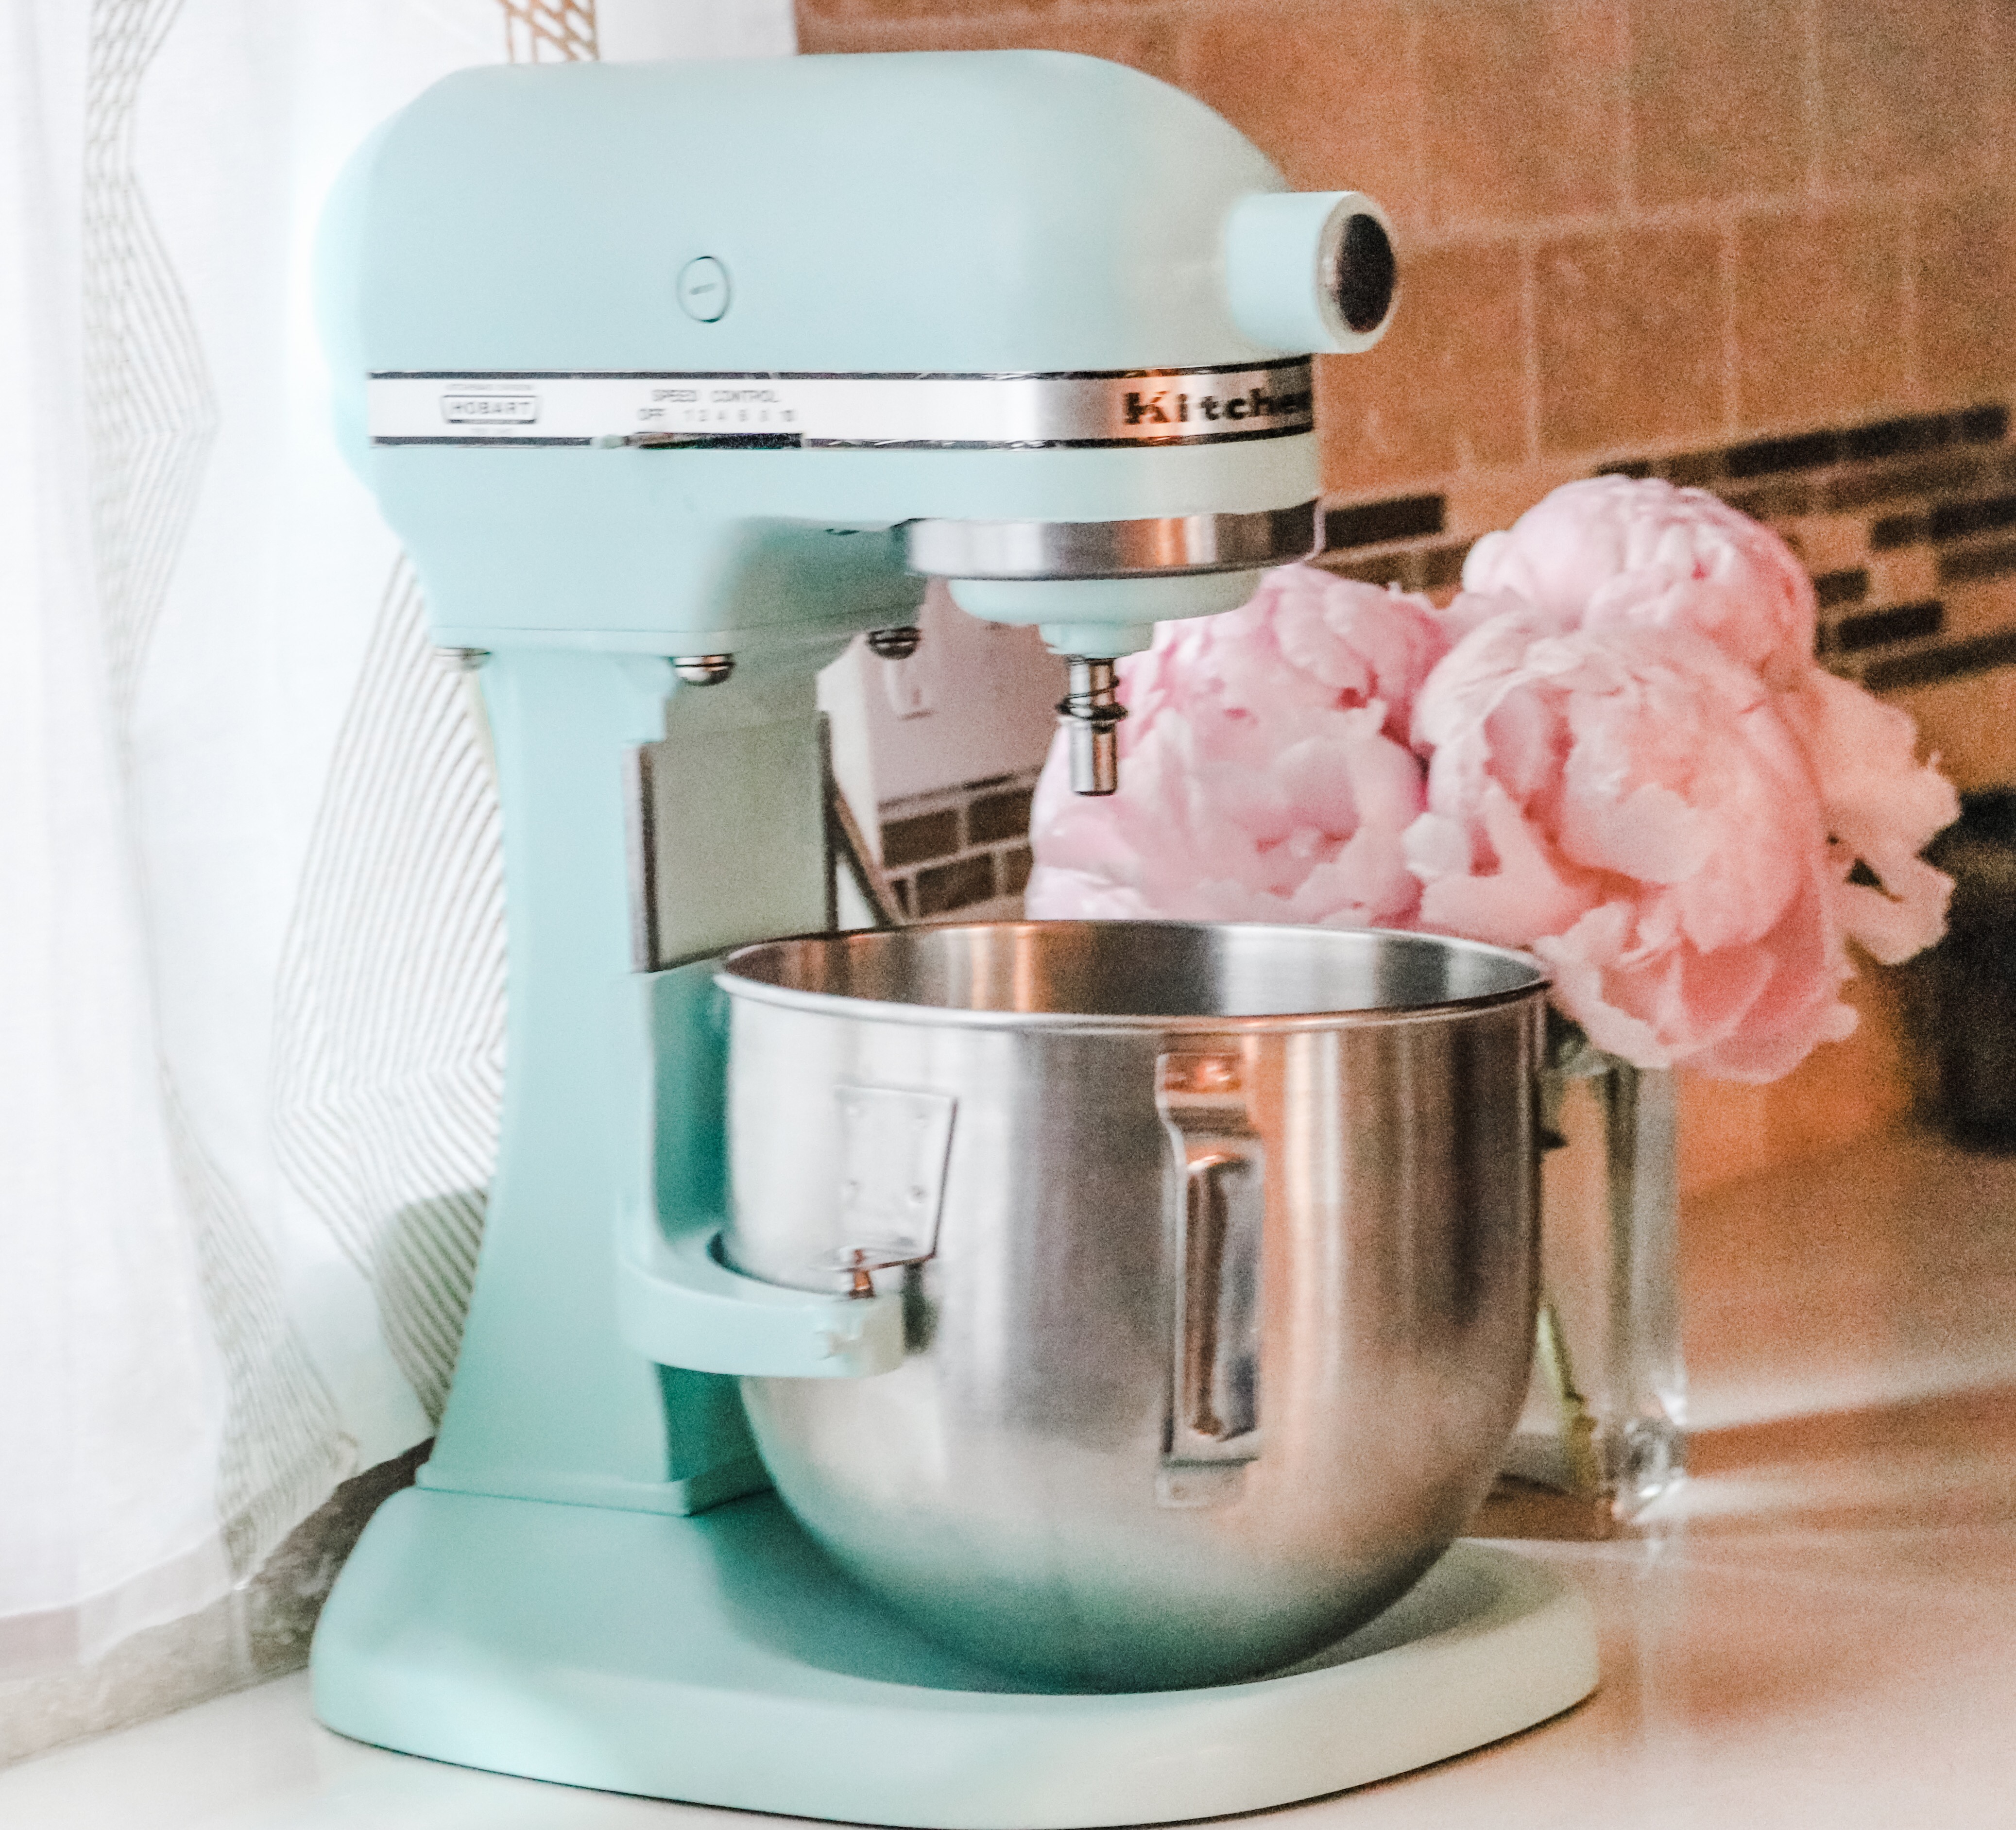
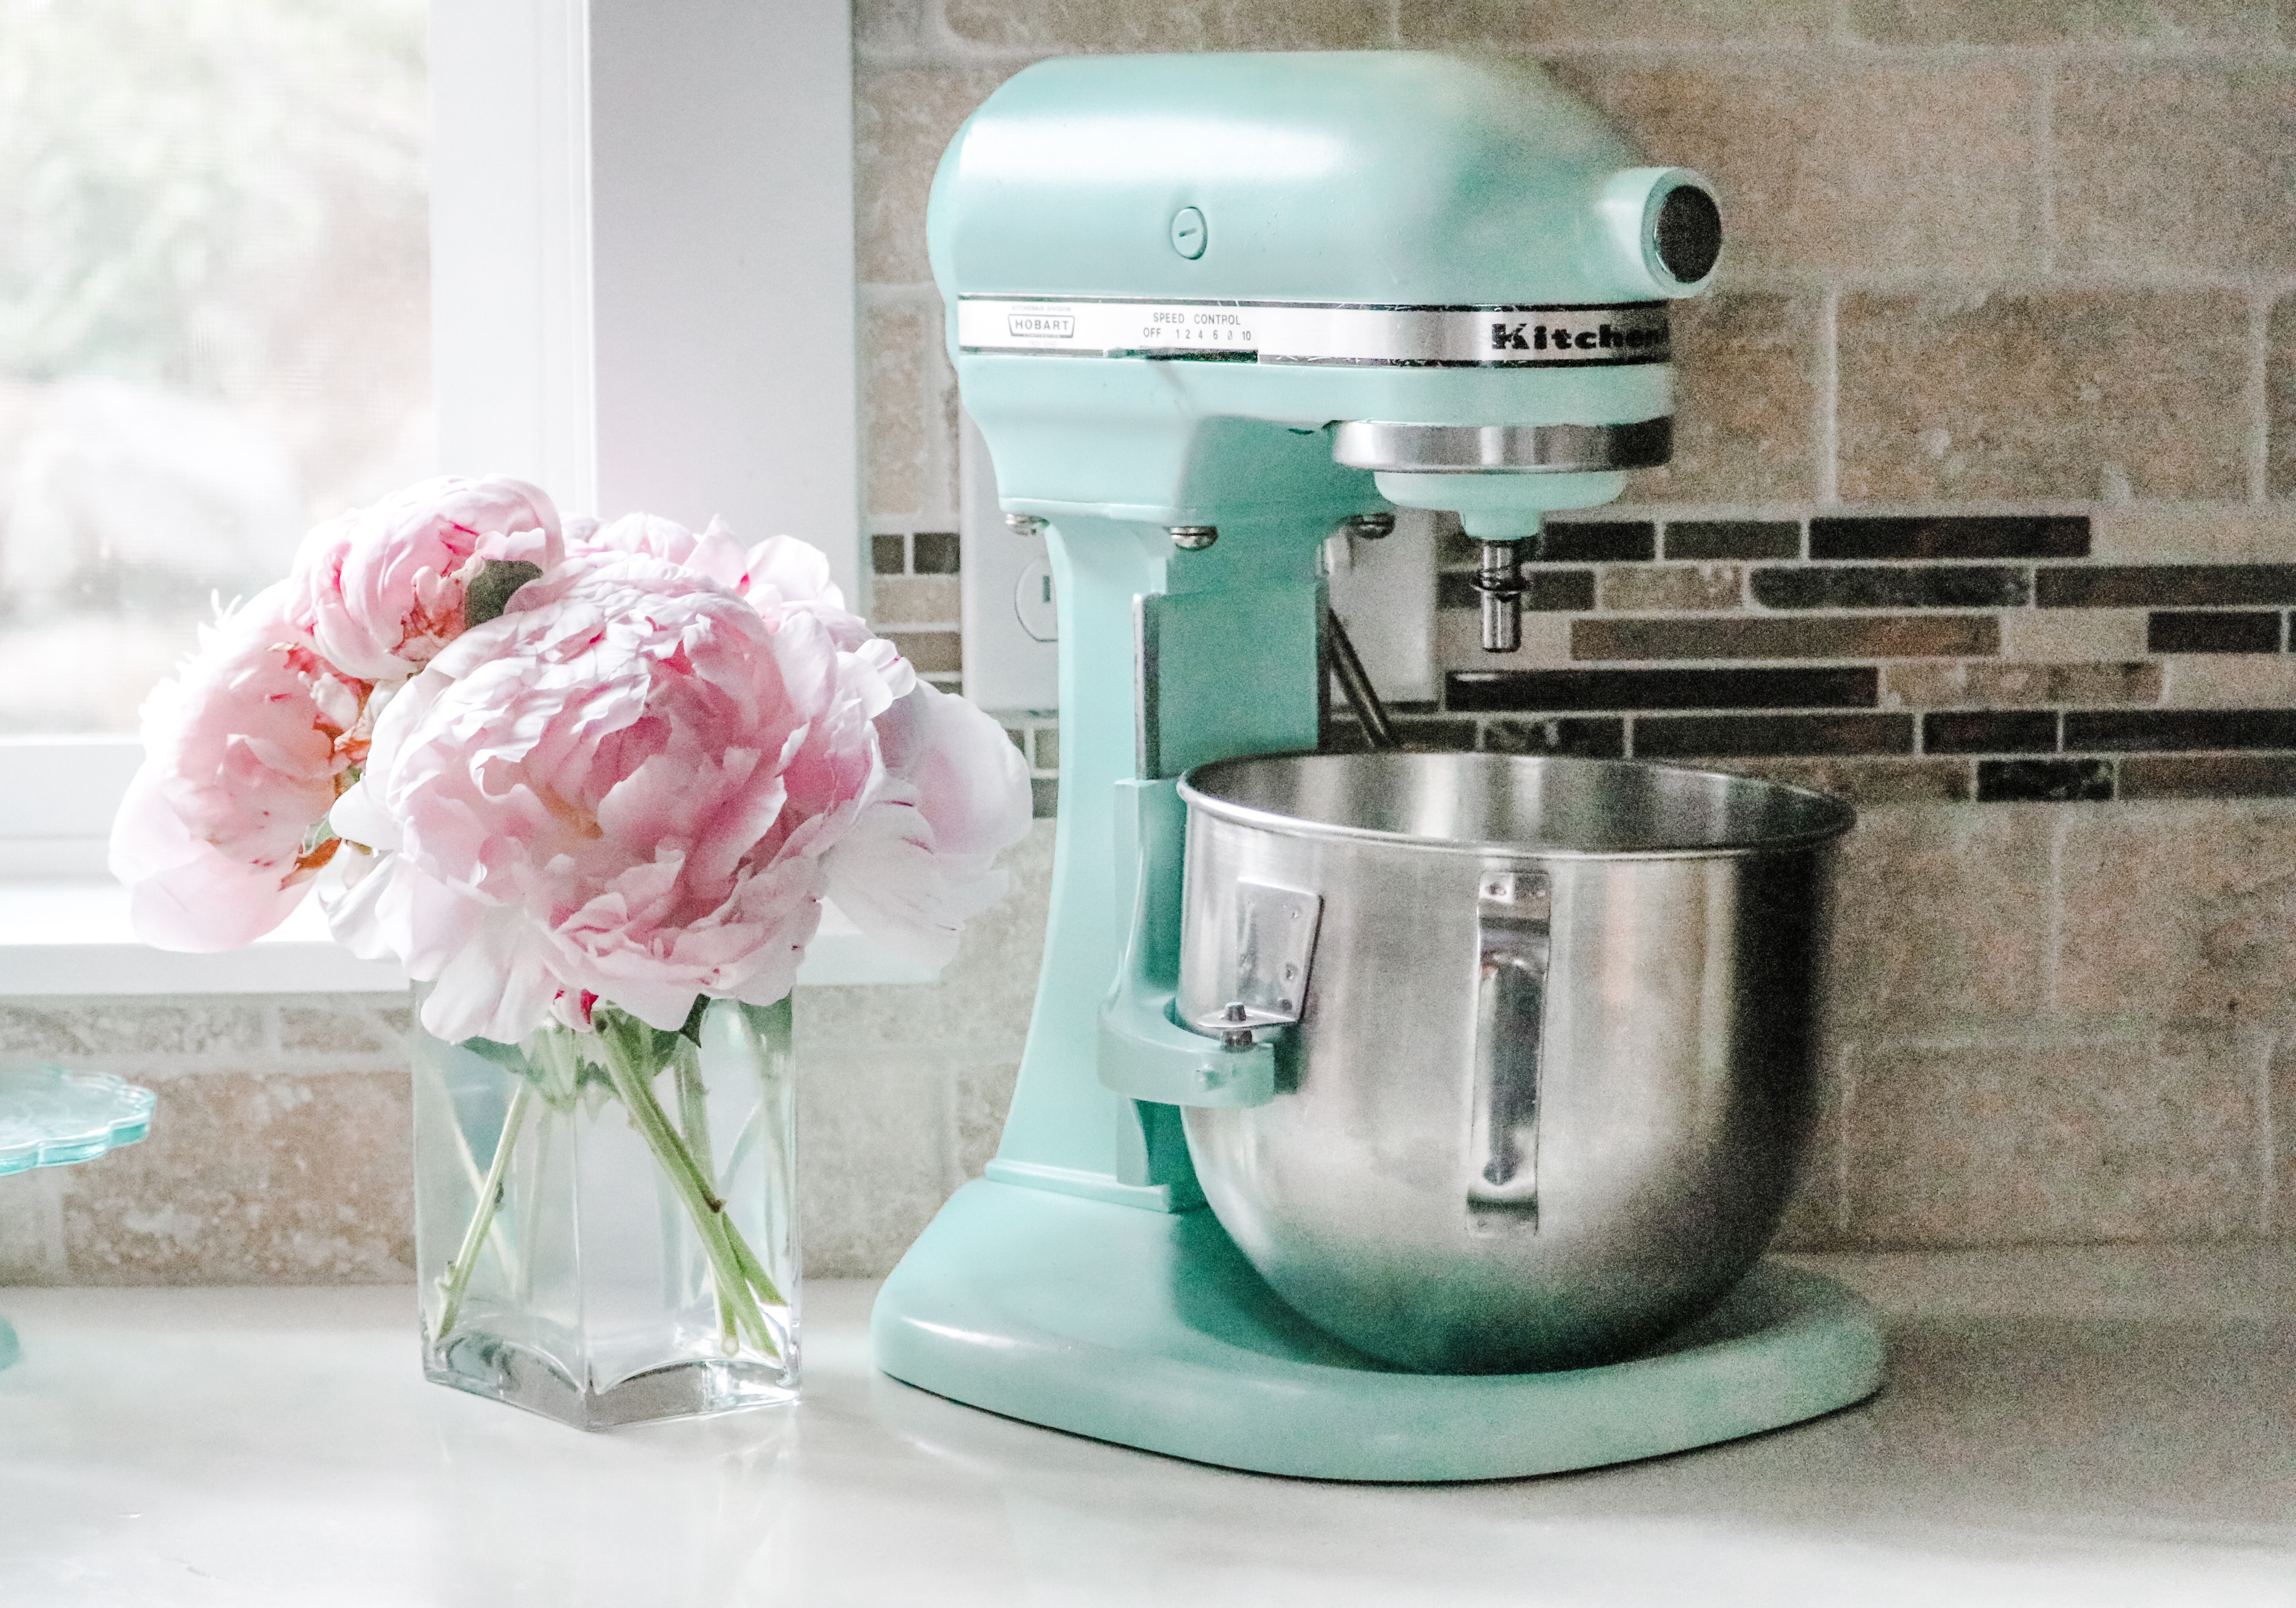
Then you piece it back together(which should be easy if you’ve taken pictures of each step!), and start baking!
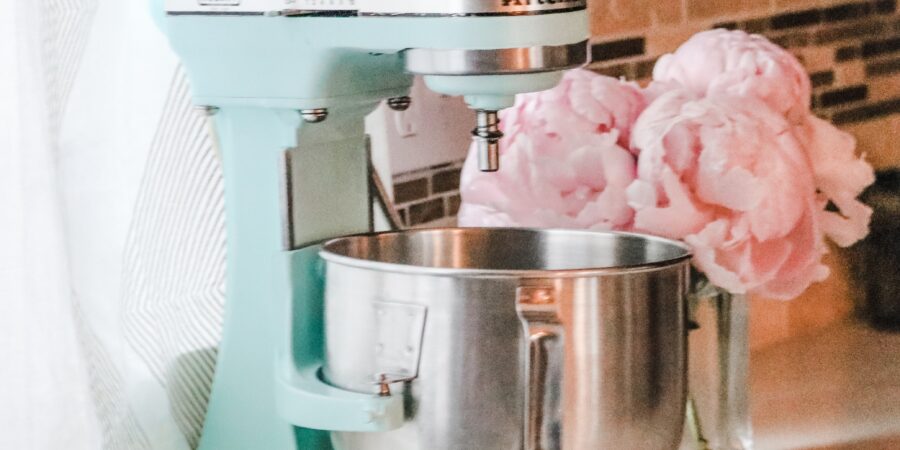
I just love how it came together!
That’s all the steps! It’s actually pretty simple! Anything that I left out? I love helping others with their projects, so let me know if you have any questions! The pictures you all send of your projects are so much fun, and I get so inspired by your creativity! Love you all!
**This post contains affiliate links which is at no extra cost or price to you, the consumer. This just makes it so that I can pay to create my content and keep my site up. Thank you! **
2 thoughts on “DIY Painting Your Kitchen Aid!”
Oooh I love the transformation! Great job Serretta!

Oooh I love the transformation! Great job Serretta!
Thank you so much!