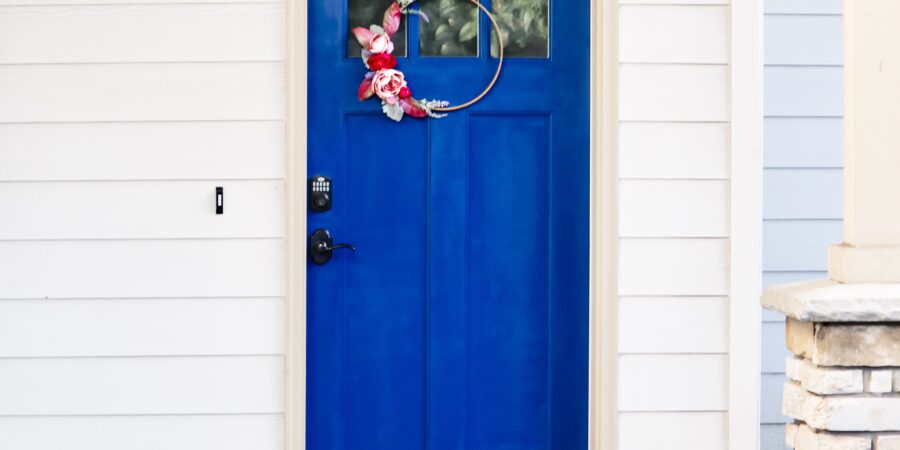
Hello and happy spring! I’m excited to show you my spring wreath that literally cost me $1 to make! Here it is:
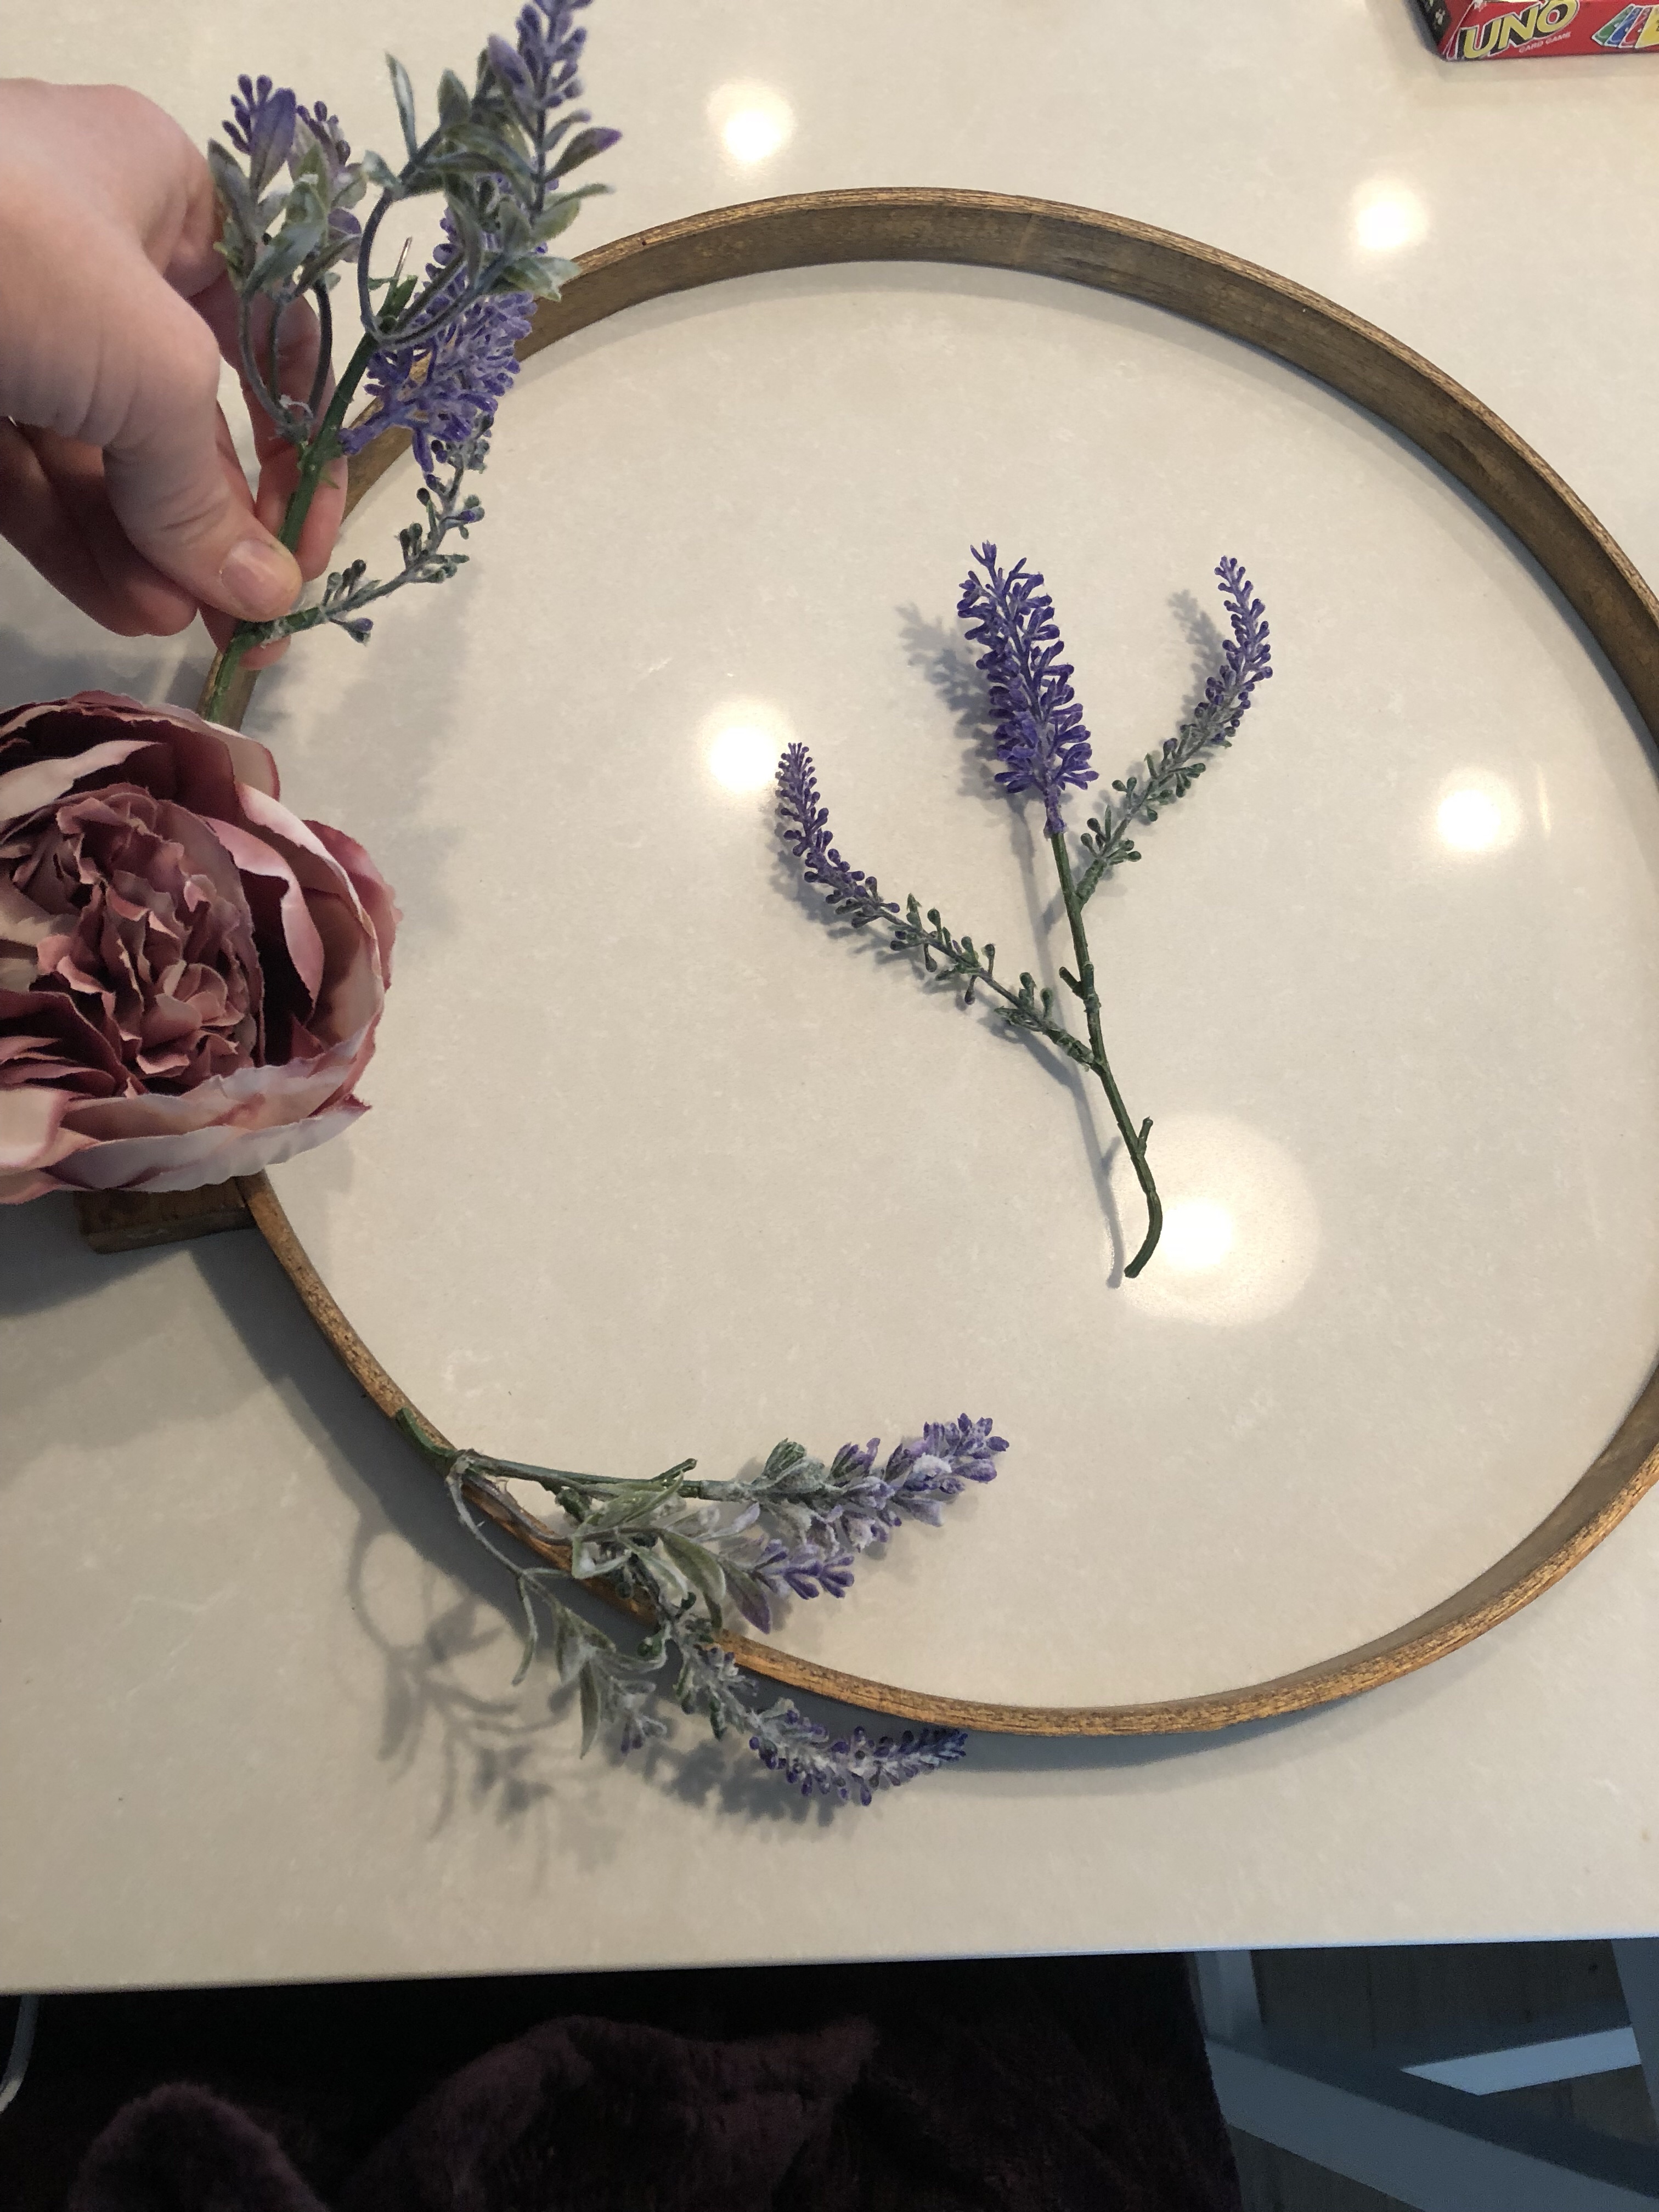
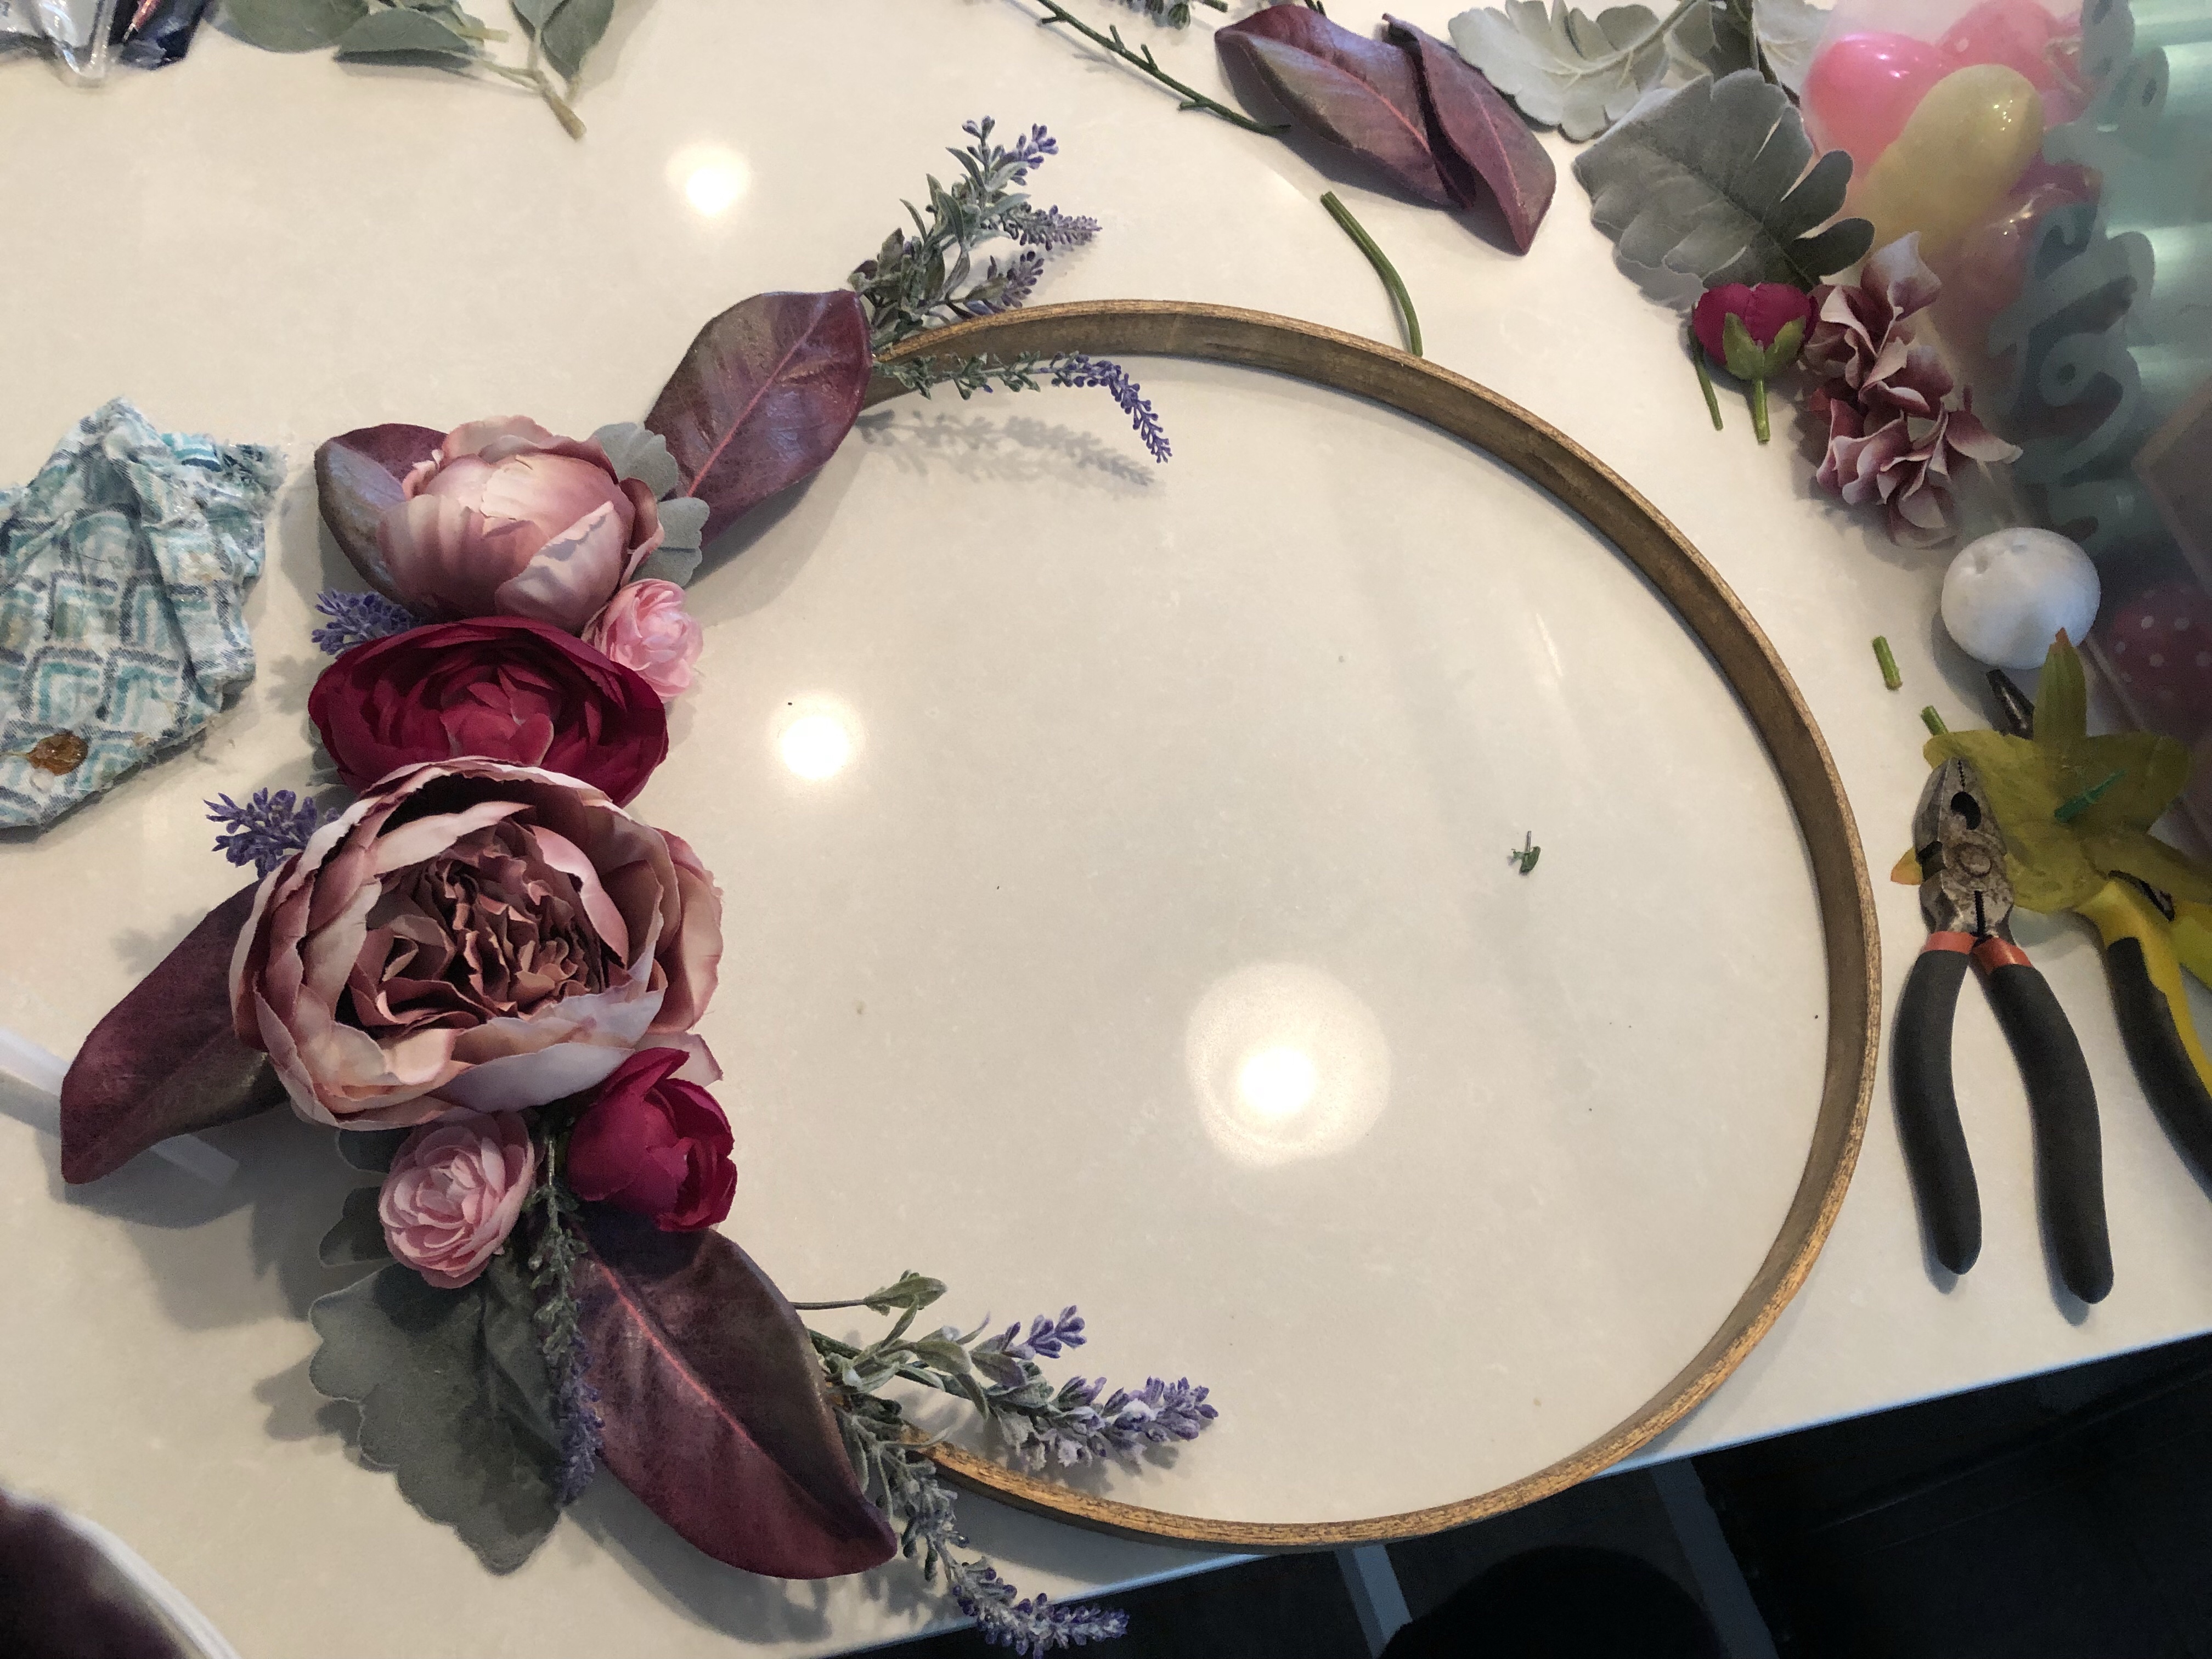
I love the embroidery hoop wreath look and wanted to make one!
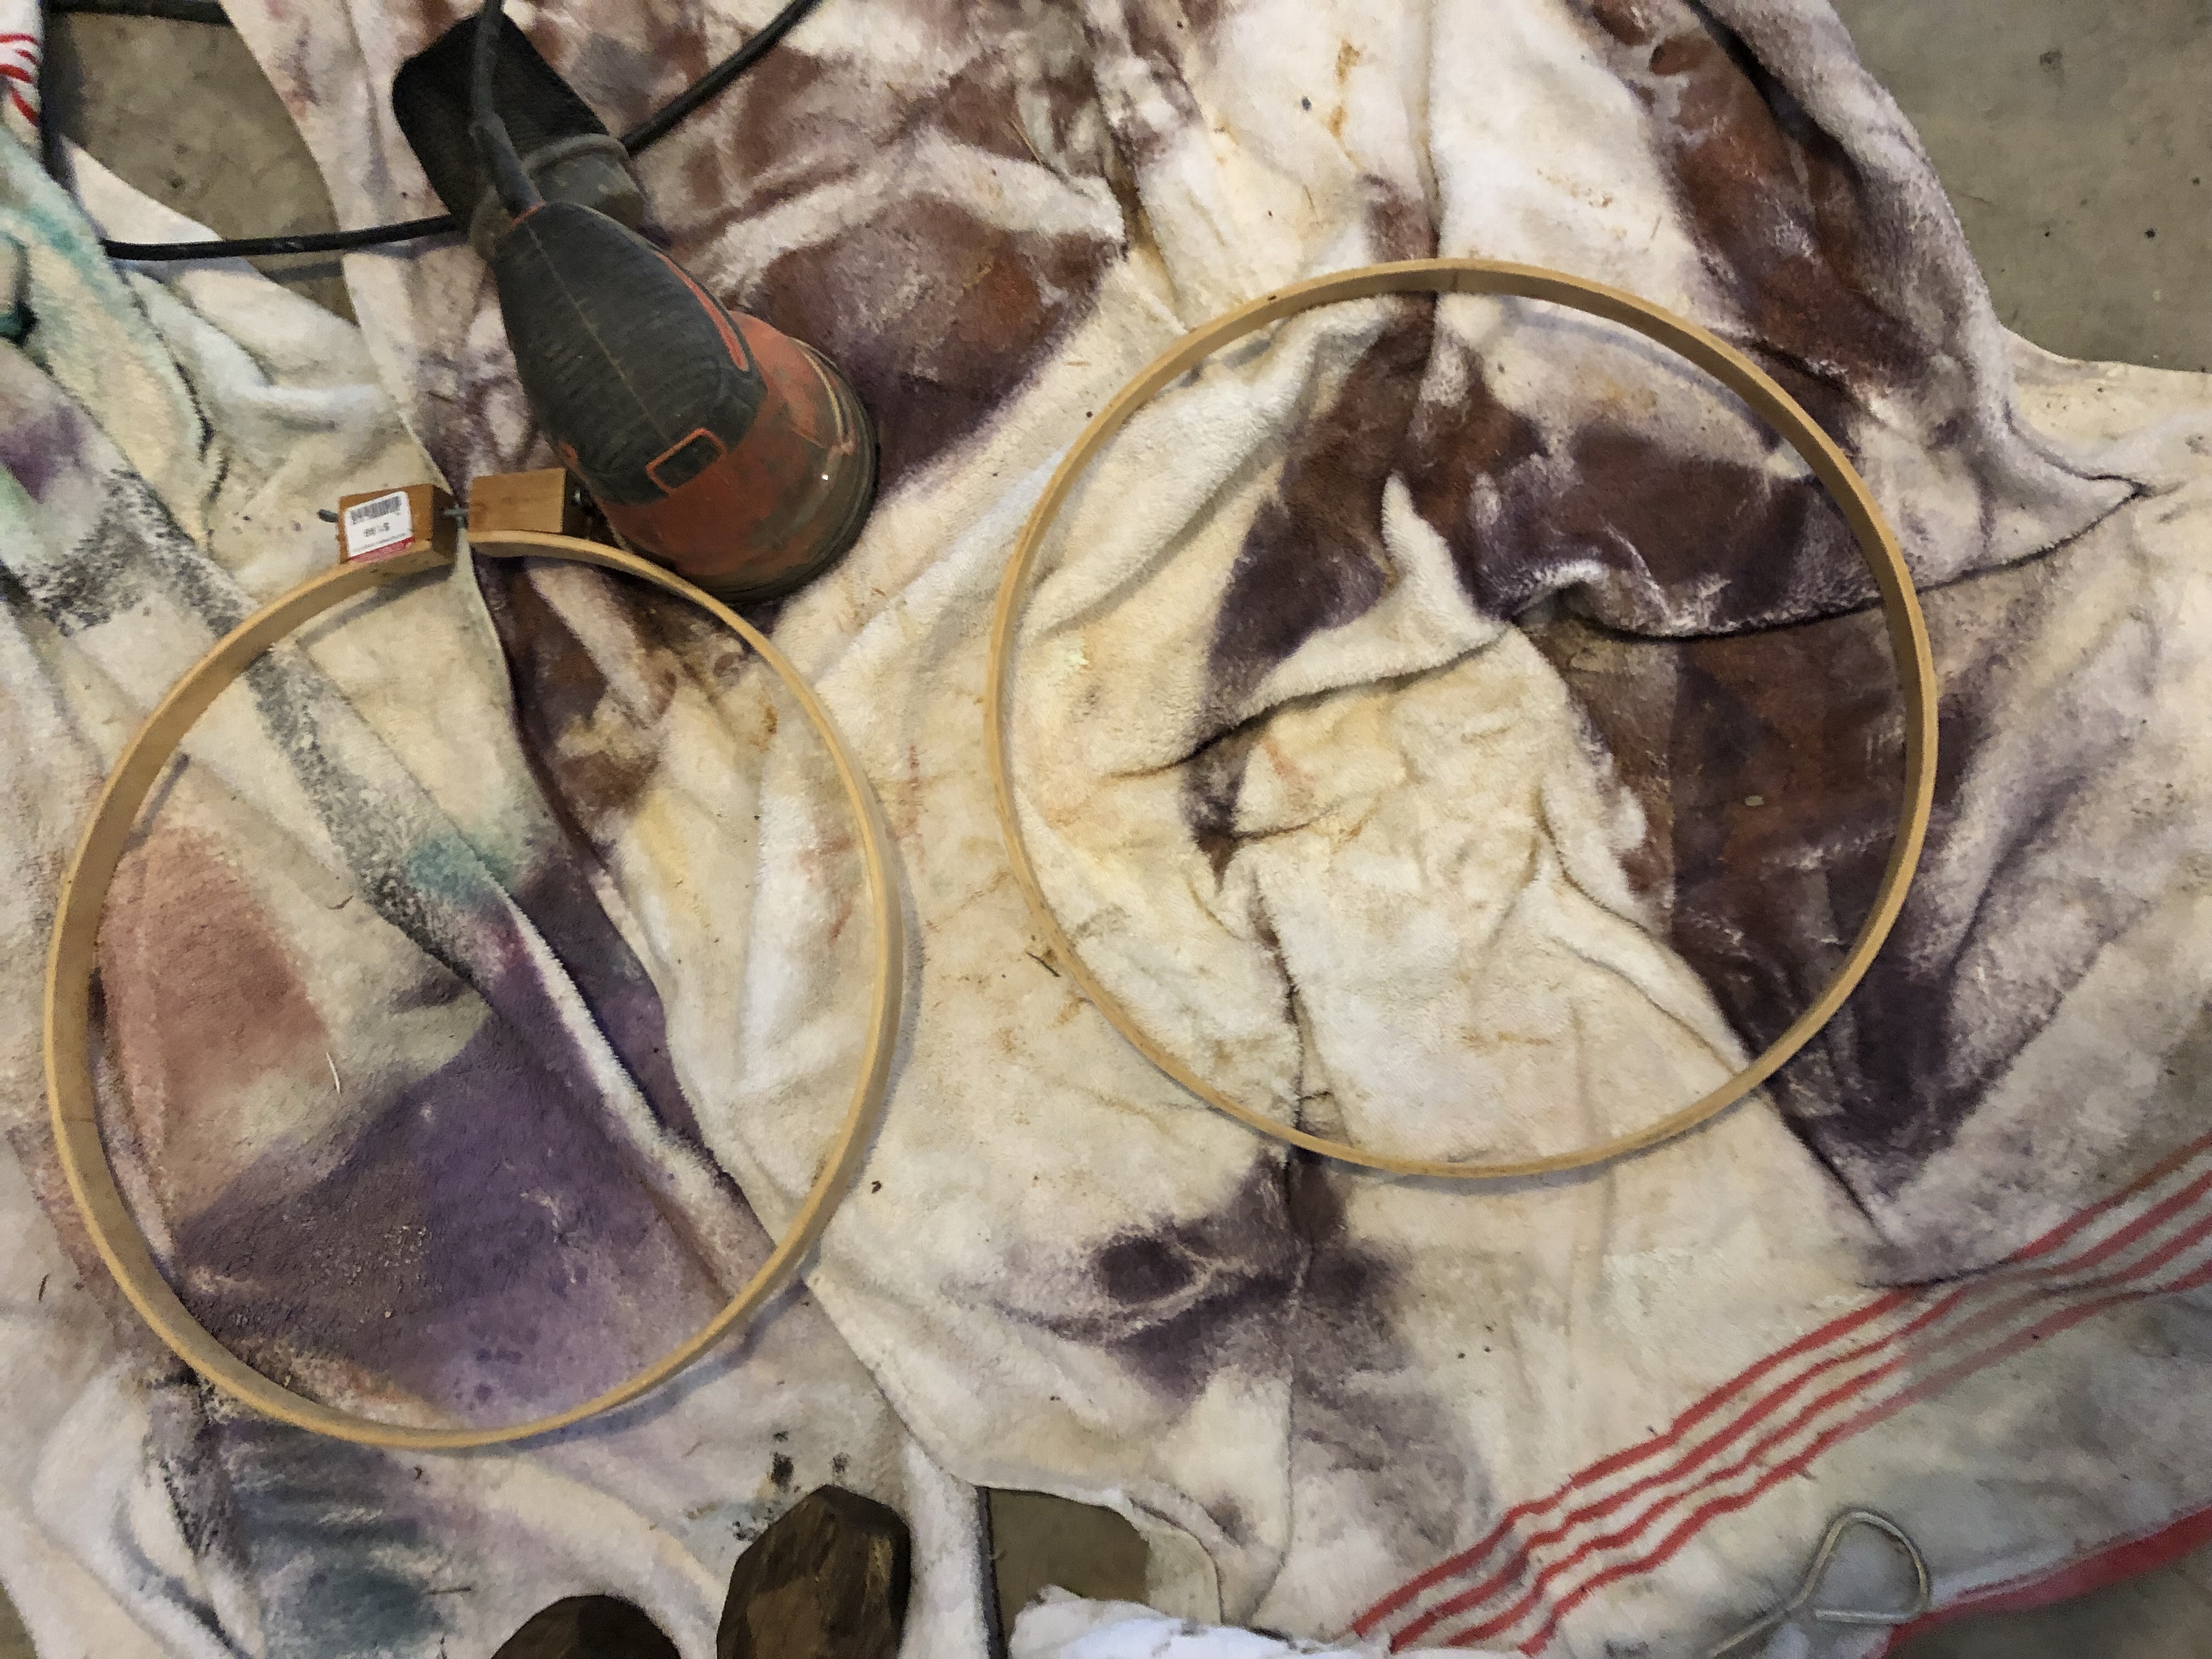
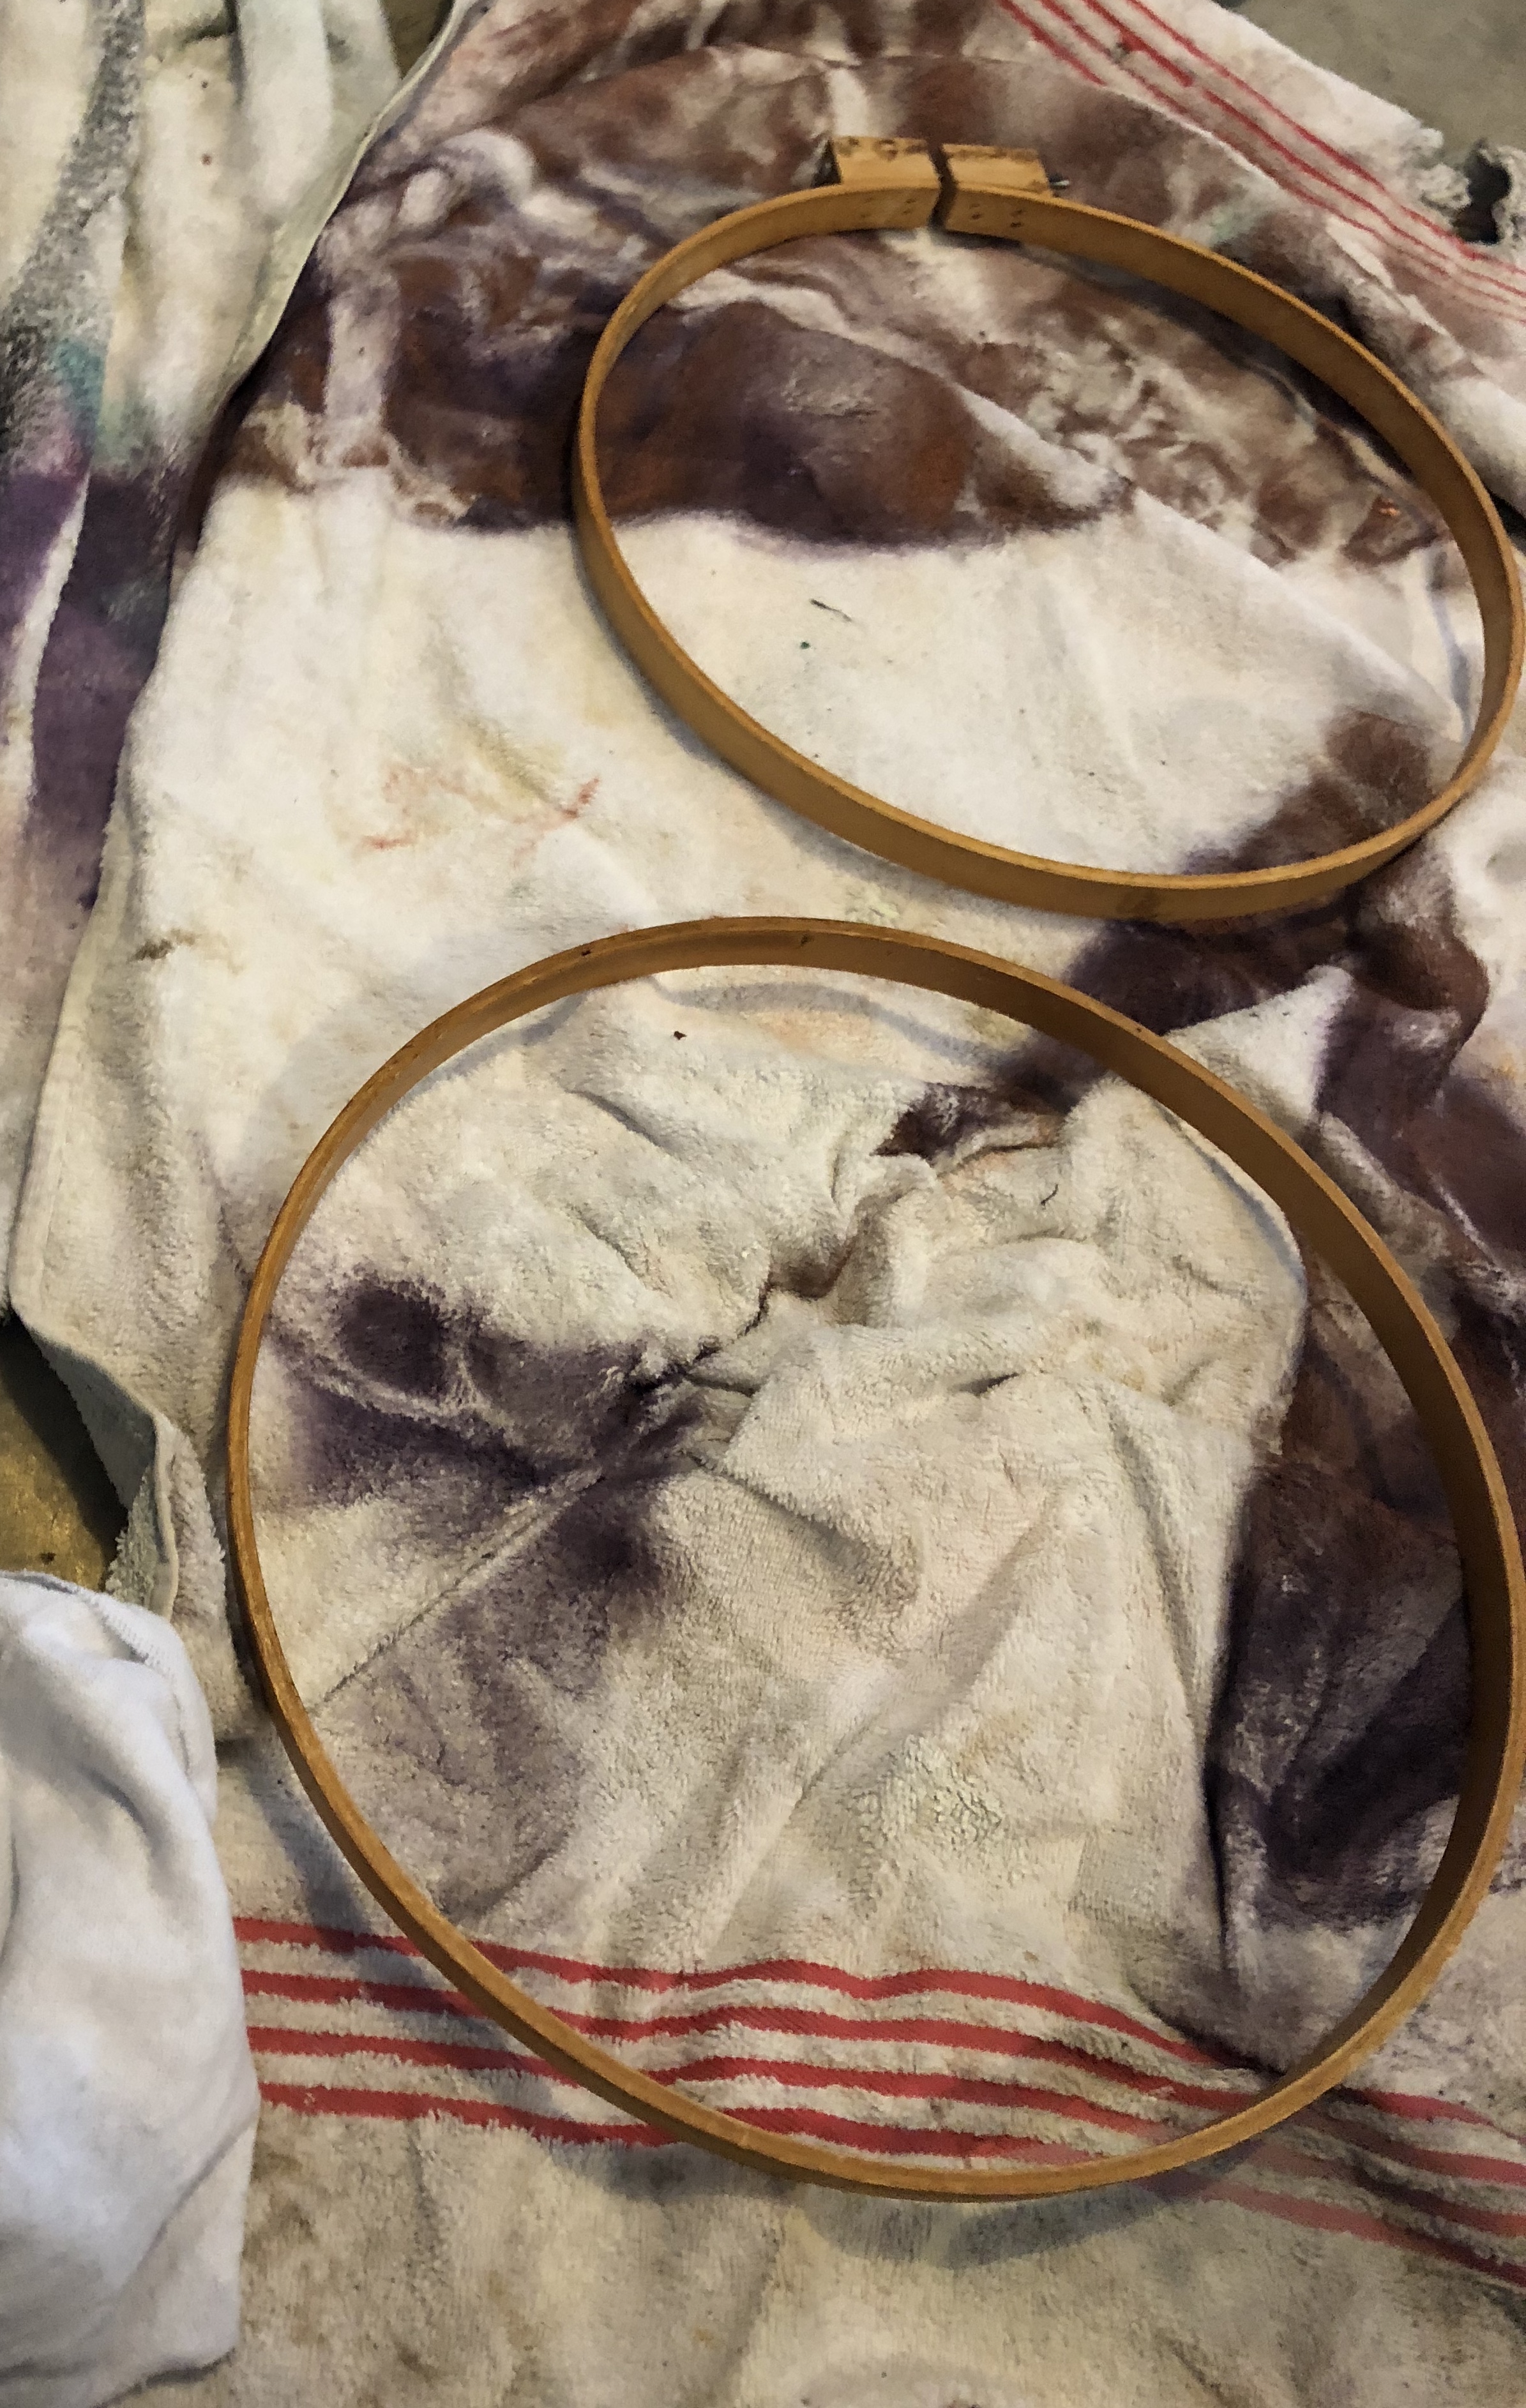
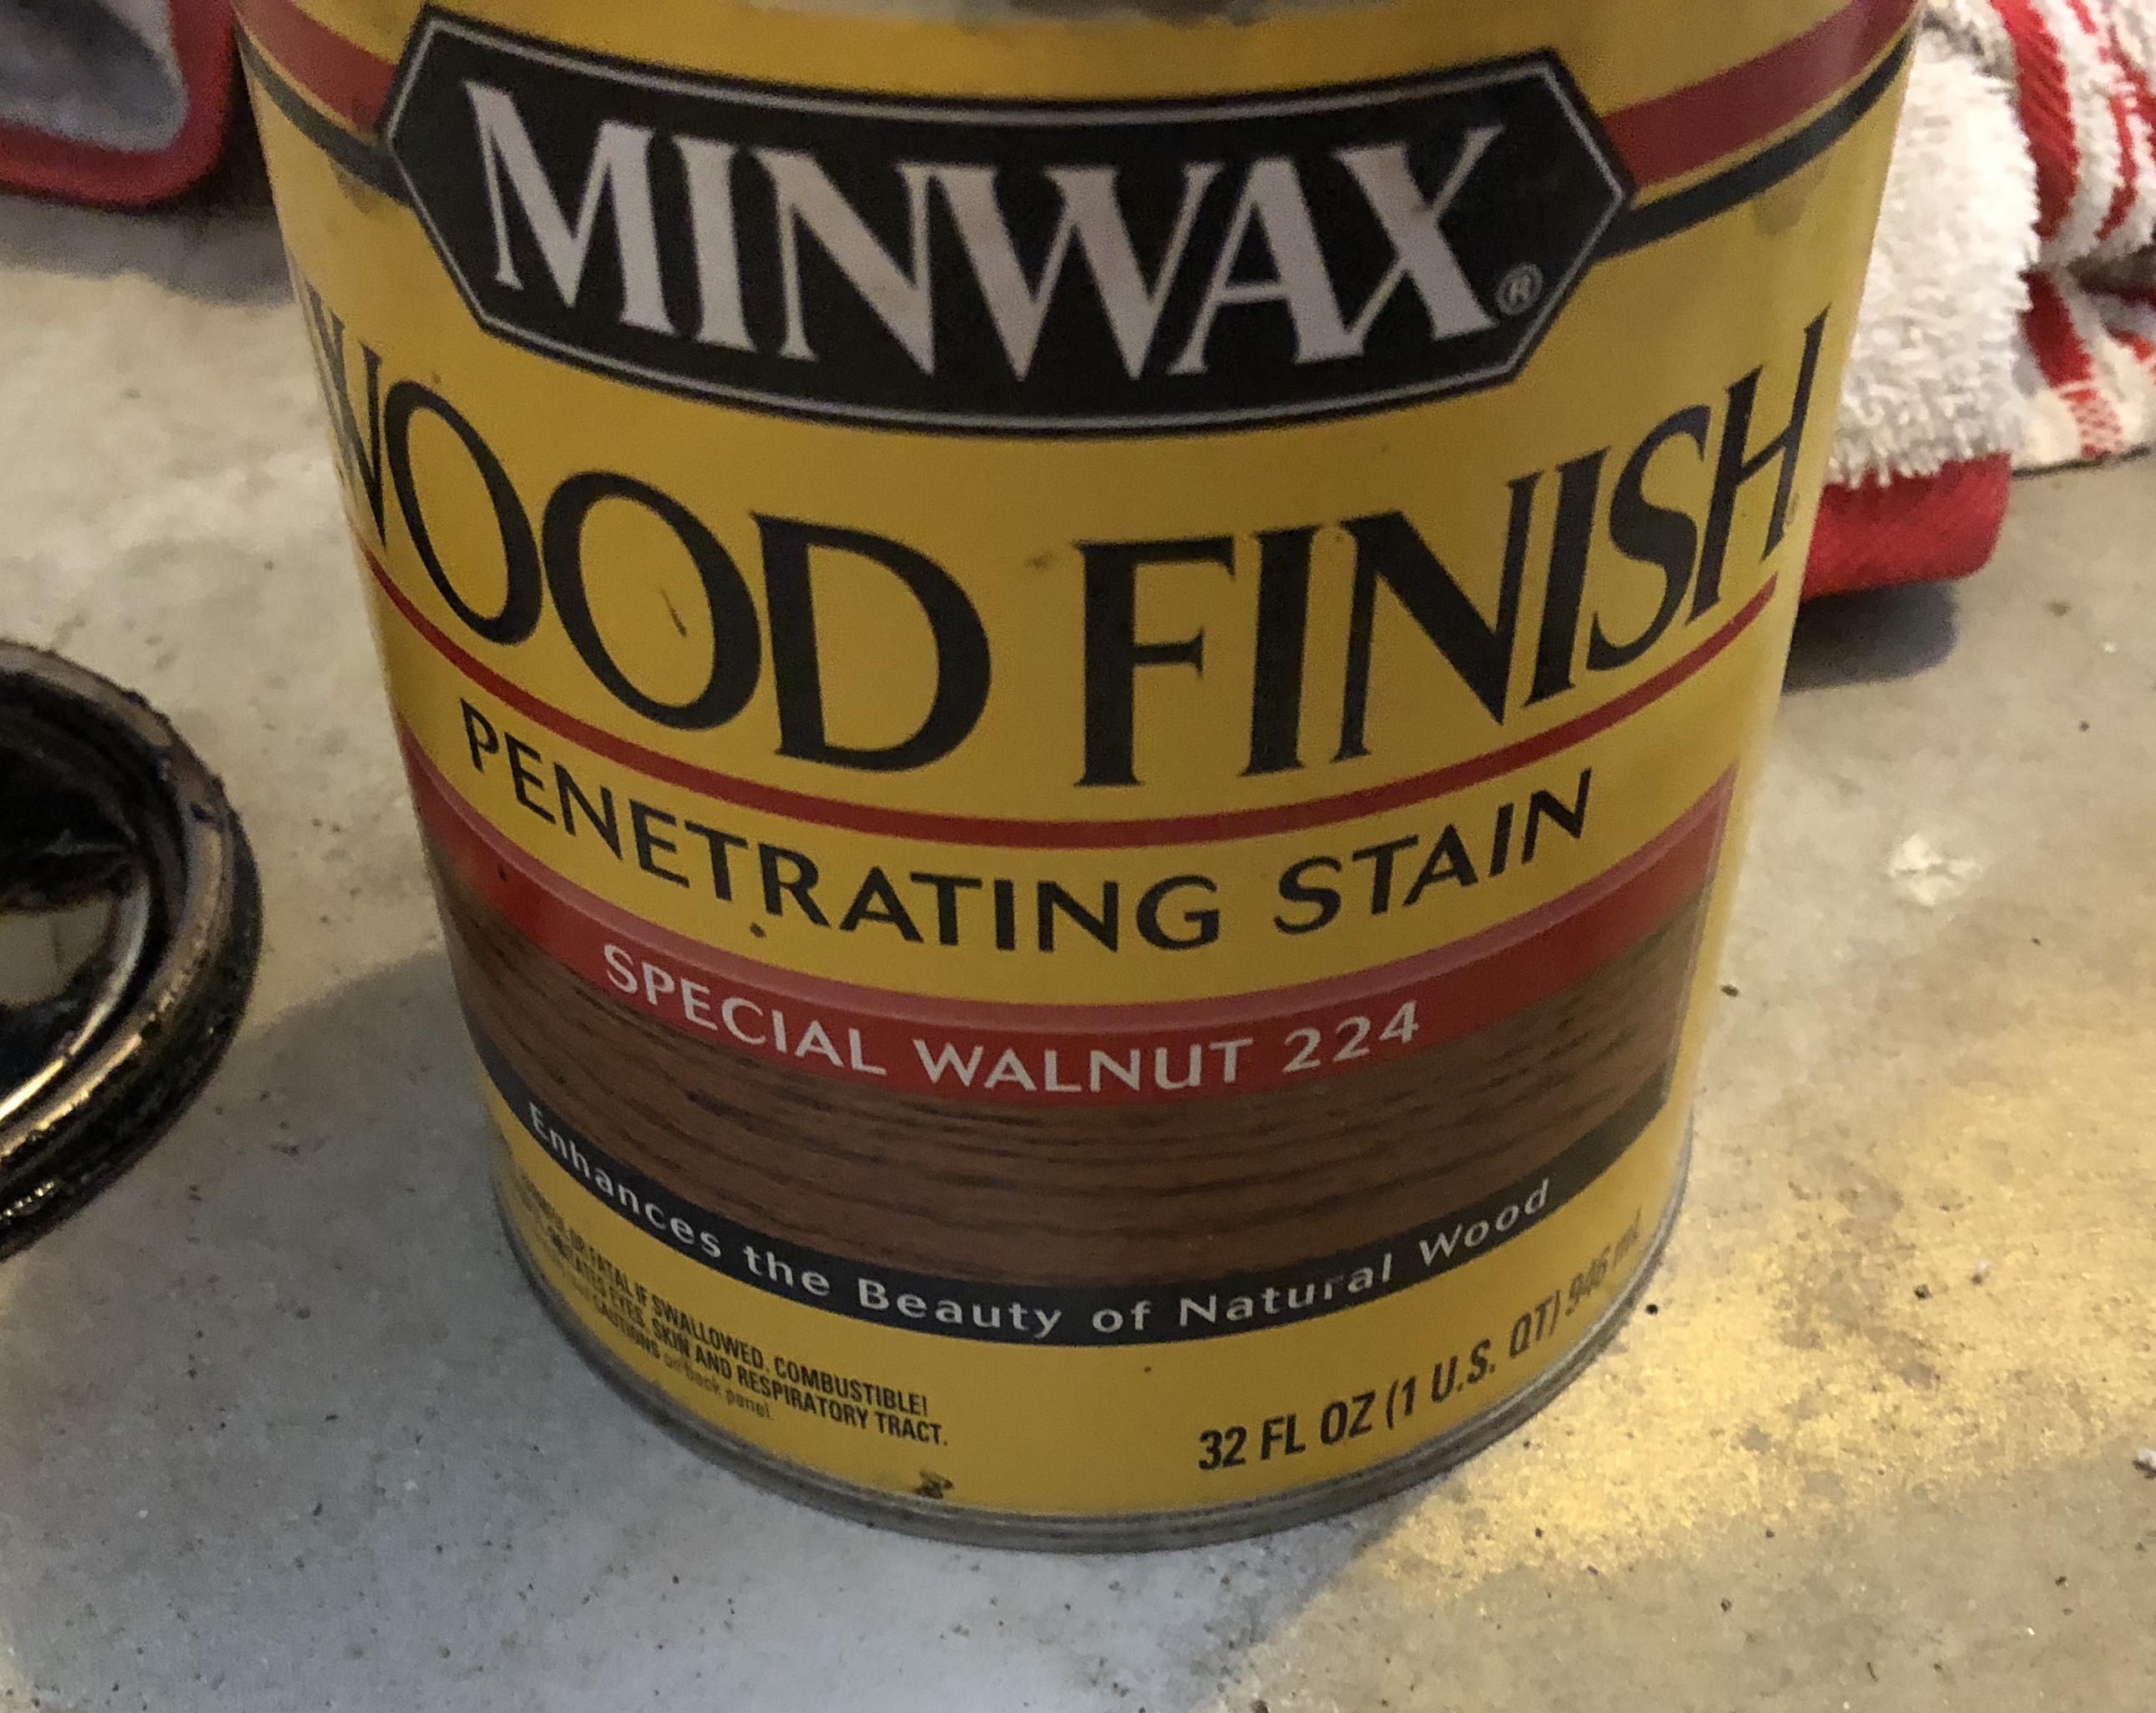
Confession: I had this cool picture in my head that I could use a wood stain on these. It did not turn out to what I wanted, but I figured I should just leave it and see how the rest of the wreath turned out.

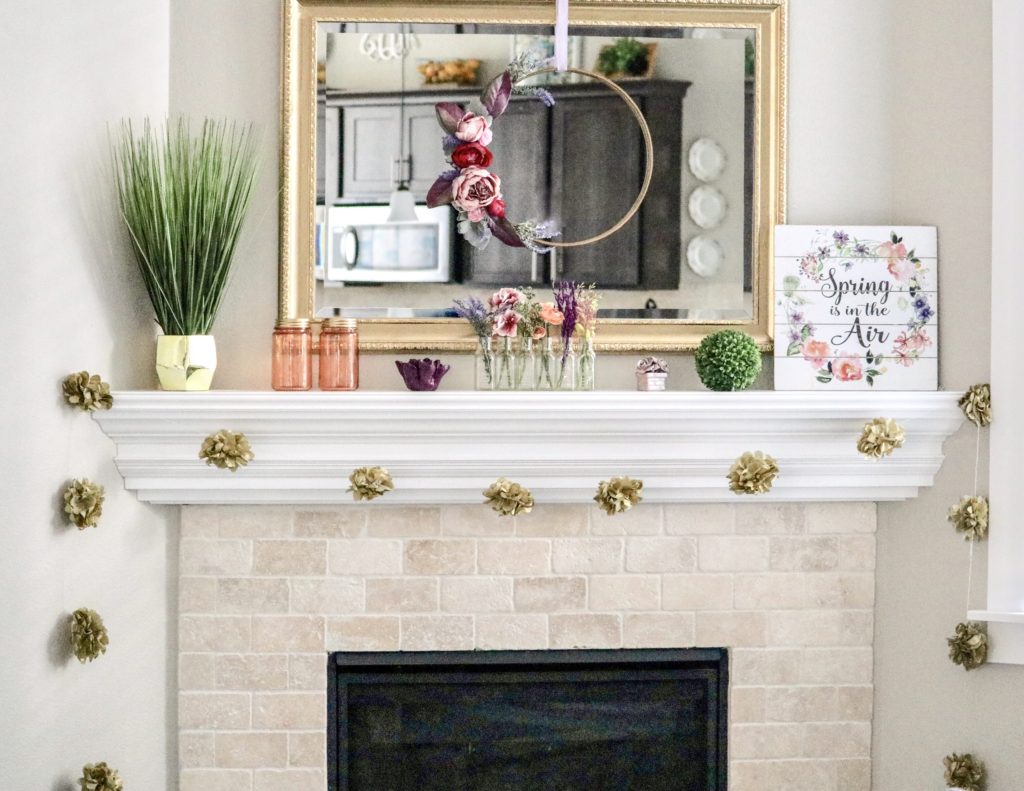
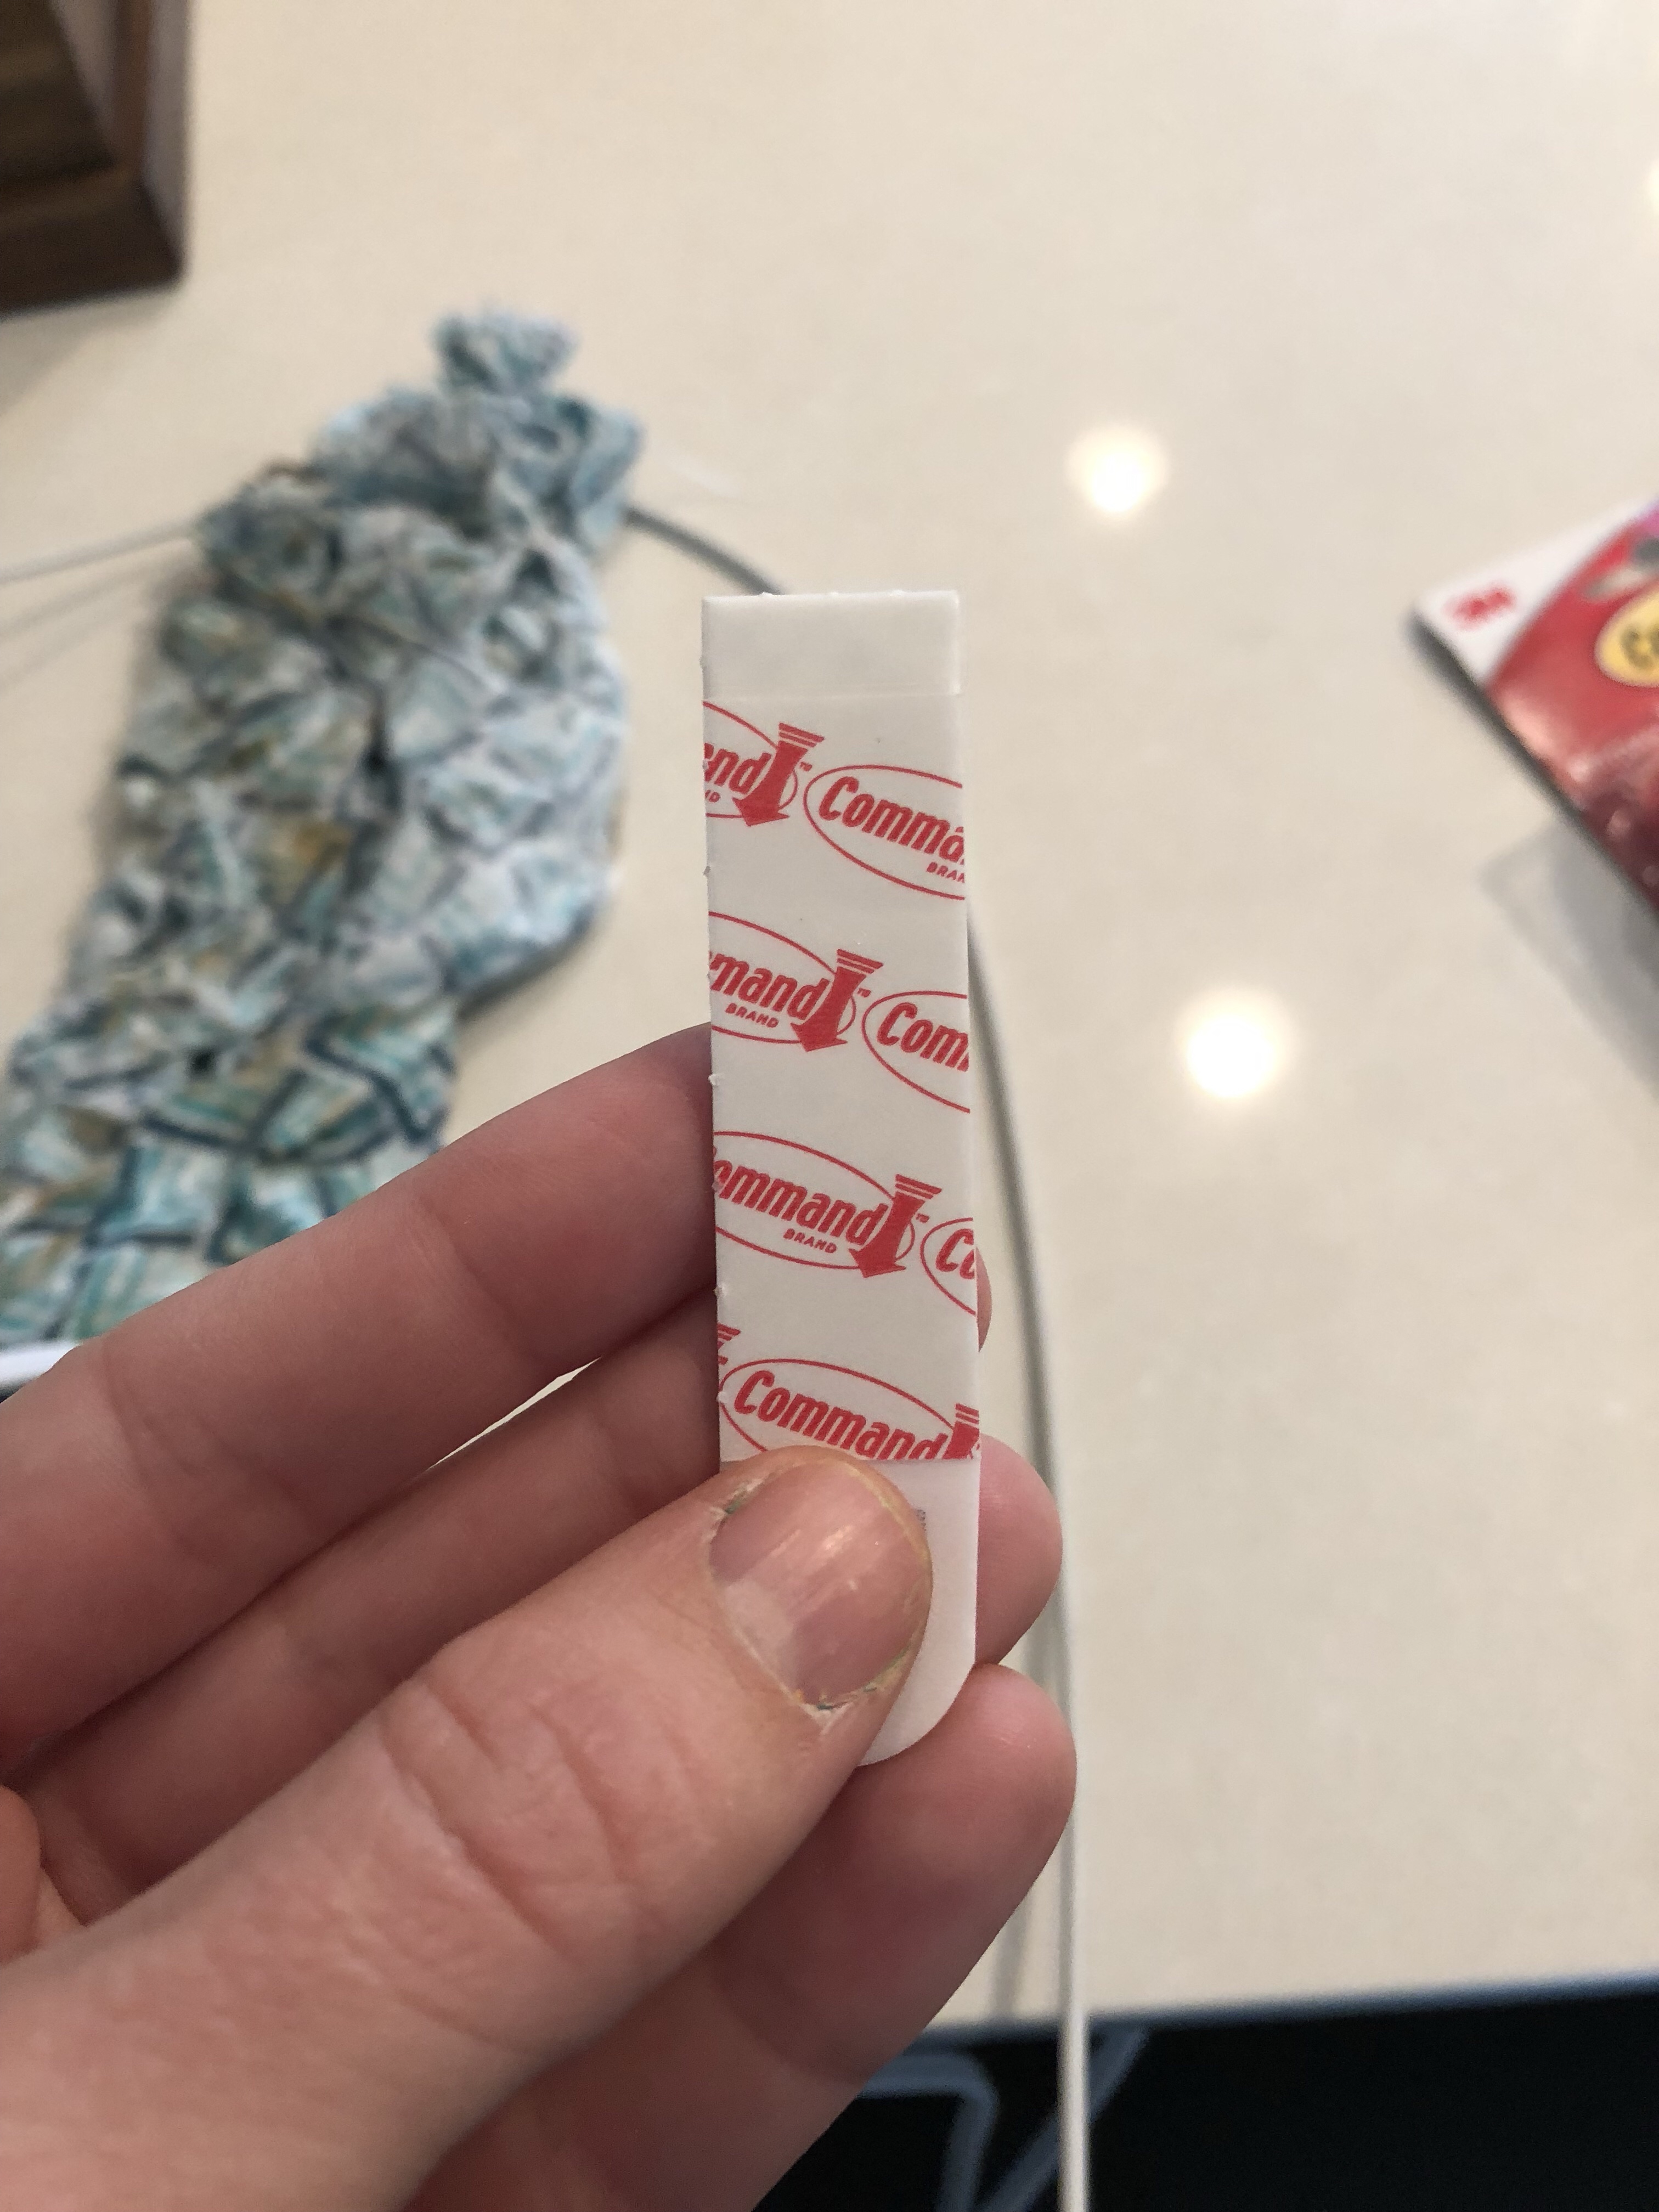
That’s honestly it! The hardest part of the entire project was hanging it! I’m going to show you what I had to figure out in order to save you frustration! I wanted to hang it on the mirror above our fireplace like I do with every wreath, but the command hook that I usually use would NOT hold the hoop properly! The sizing was all weird and since the wreath was side heavy, I could not get it to stay straight on the mirror without it going lop sided! Does that make sense? I finally came up with two solutions that made the wreath stay:

This helped but the wreath still was slanting to the heavier side! I then thought of the game changing step:
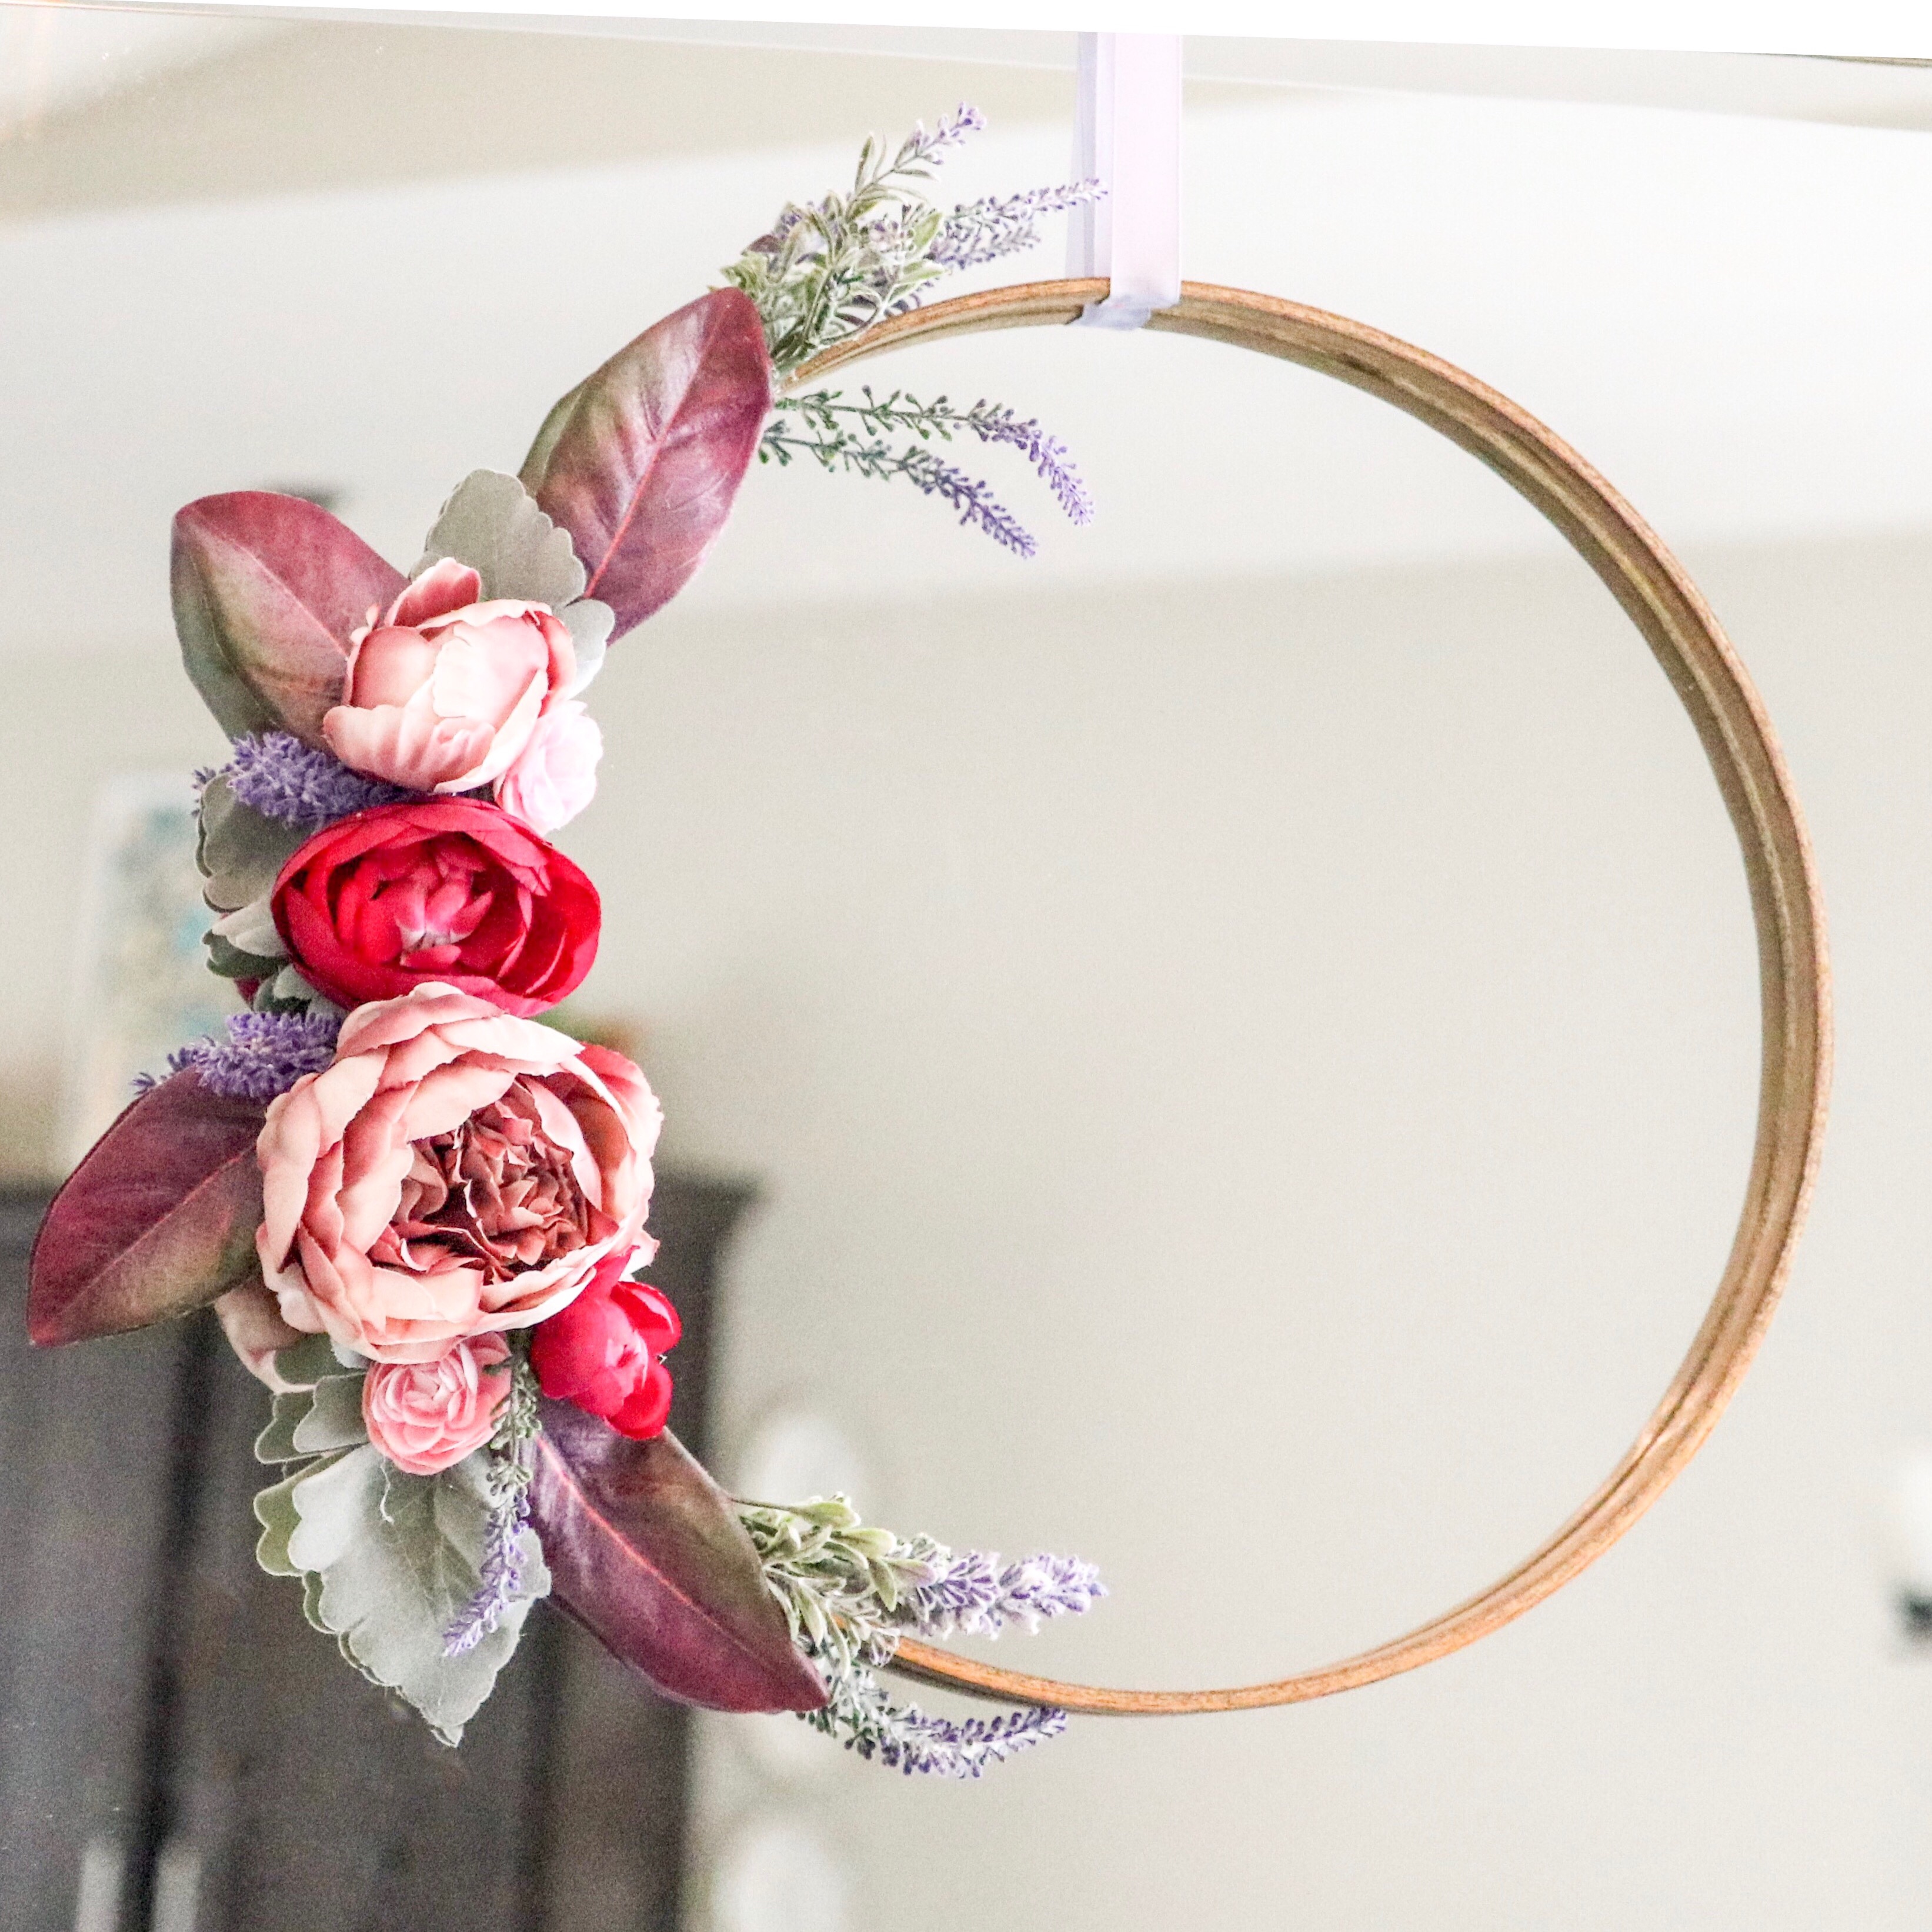

Can you believe this was only $1 for me to make the entire thing?! I was thinking that if you don’t have any of the supplies and you went out and bought them yourself, it would maybe cost you $5-$10? Not too bad right?!
Want to see more wreaths that I’ve made? You can find them here.
Anyway, I hope that the hanging part made sense! If it doesn’t, feel free to message me with questions and I’d love to help! Thank you for visiting and send me pics of the wreaths that you make! I love being inspired by other’s projects! Love you all!
![]()
**This post contains affiliate links which is at no extra cost or price to you, the consumer. This just makes it so that I can pay to create my content and keep my site up. Thank you! **
[…] They come in sets of two! So the set that I got for 99 cents at Goodwill that I used for this Hoop Wreath left me with another hoop to make another wreath! Here’s the new […]
[…] Here it is all finished with my hoop spring wreath. […]